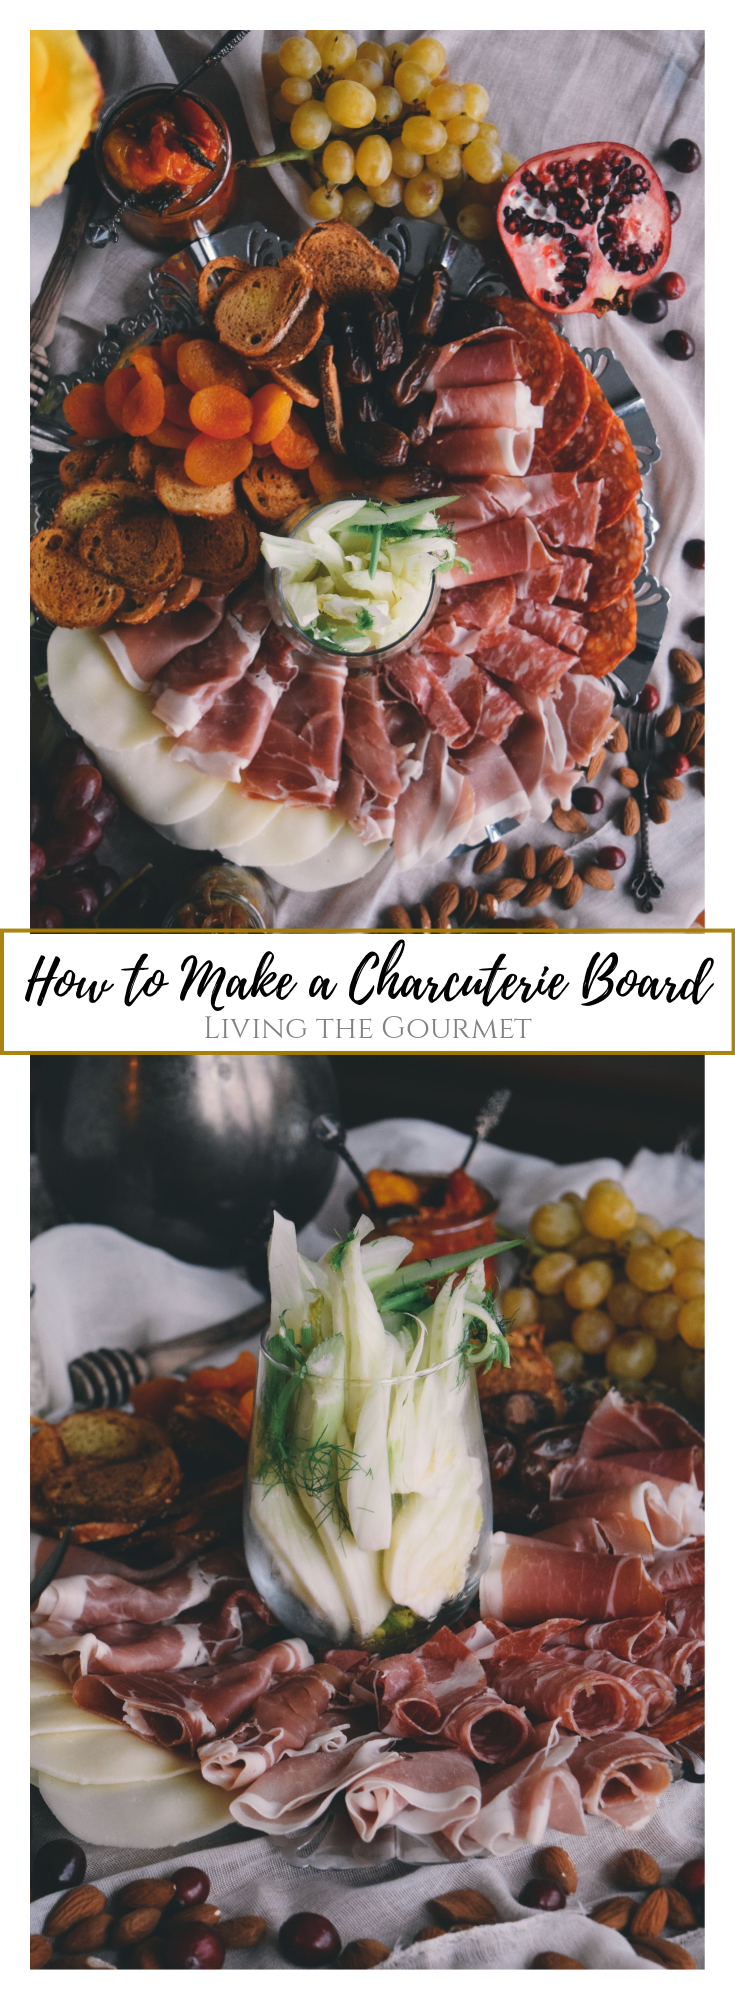
How to Make a Gourmet Meat and Cheese Tray
This post has been sponsored by Veroni. All opinions expressed are my own.
Growing up, I was treated to some of the most lush and 'densely packed' antipasto platters one can imagine, with items fresh from first generation Italian butcheries and grocers, courtesy of family that was spread across the boroughs of New York City. Funnily enough, we didn't have 'charcuterie boards,' no, we merely had 'antipasto,' which, looking back, I suppose could be considered a catch-all phrase for "Italian-Themed Starters."
Today, charcuterie boards are a specific type 'antipasto platter' where the main attraction is the selection of dried or cured meats, with the surrounding 'bites' or 'spreads' serving in what is a decidedly supporting role.
However, it should come as no surprise that the key ingredient to any quality charcuterie board is the meat itself, and so having truly good meat is simply a must. Today, we've put together our board with a little (a lot) of help from our new friends over at Veroni , but more on them in just a bit.
Now, without further delay, let's get right to it.
When To Serve, and Why You'll Love It
1) Setting a Mood, and Starting the Party. That's when you serve it, when you really want to set a festive, relaxed mood for your guests. Think dinner parties, family get-togethers, holidays. My personal tip on antipasto, including today's charcuterie board, is to have it ready 'before' your guests arrive, so that its set and ready to go right when they arrive.
2) An Easy Way To Impress The Guests. A dressed up charcuterie board really makes your guests feel like you traveled that extra mile's worth of effort. While it 'does' take a little time and patience to put together, the payoff is certainly worth it. From watching your guests mingle around the spread, to receiving compliments, this is perhaps one of the simplest ways to make your guests believe that you've really added that finishing touch to the evening.
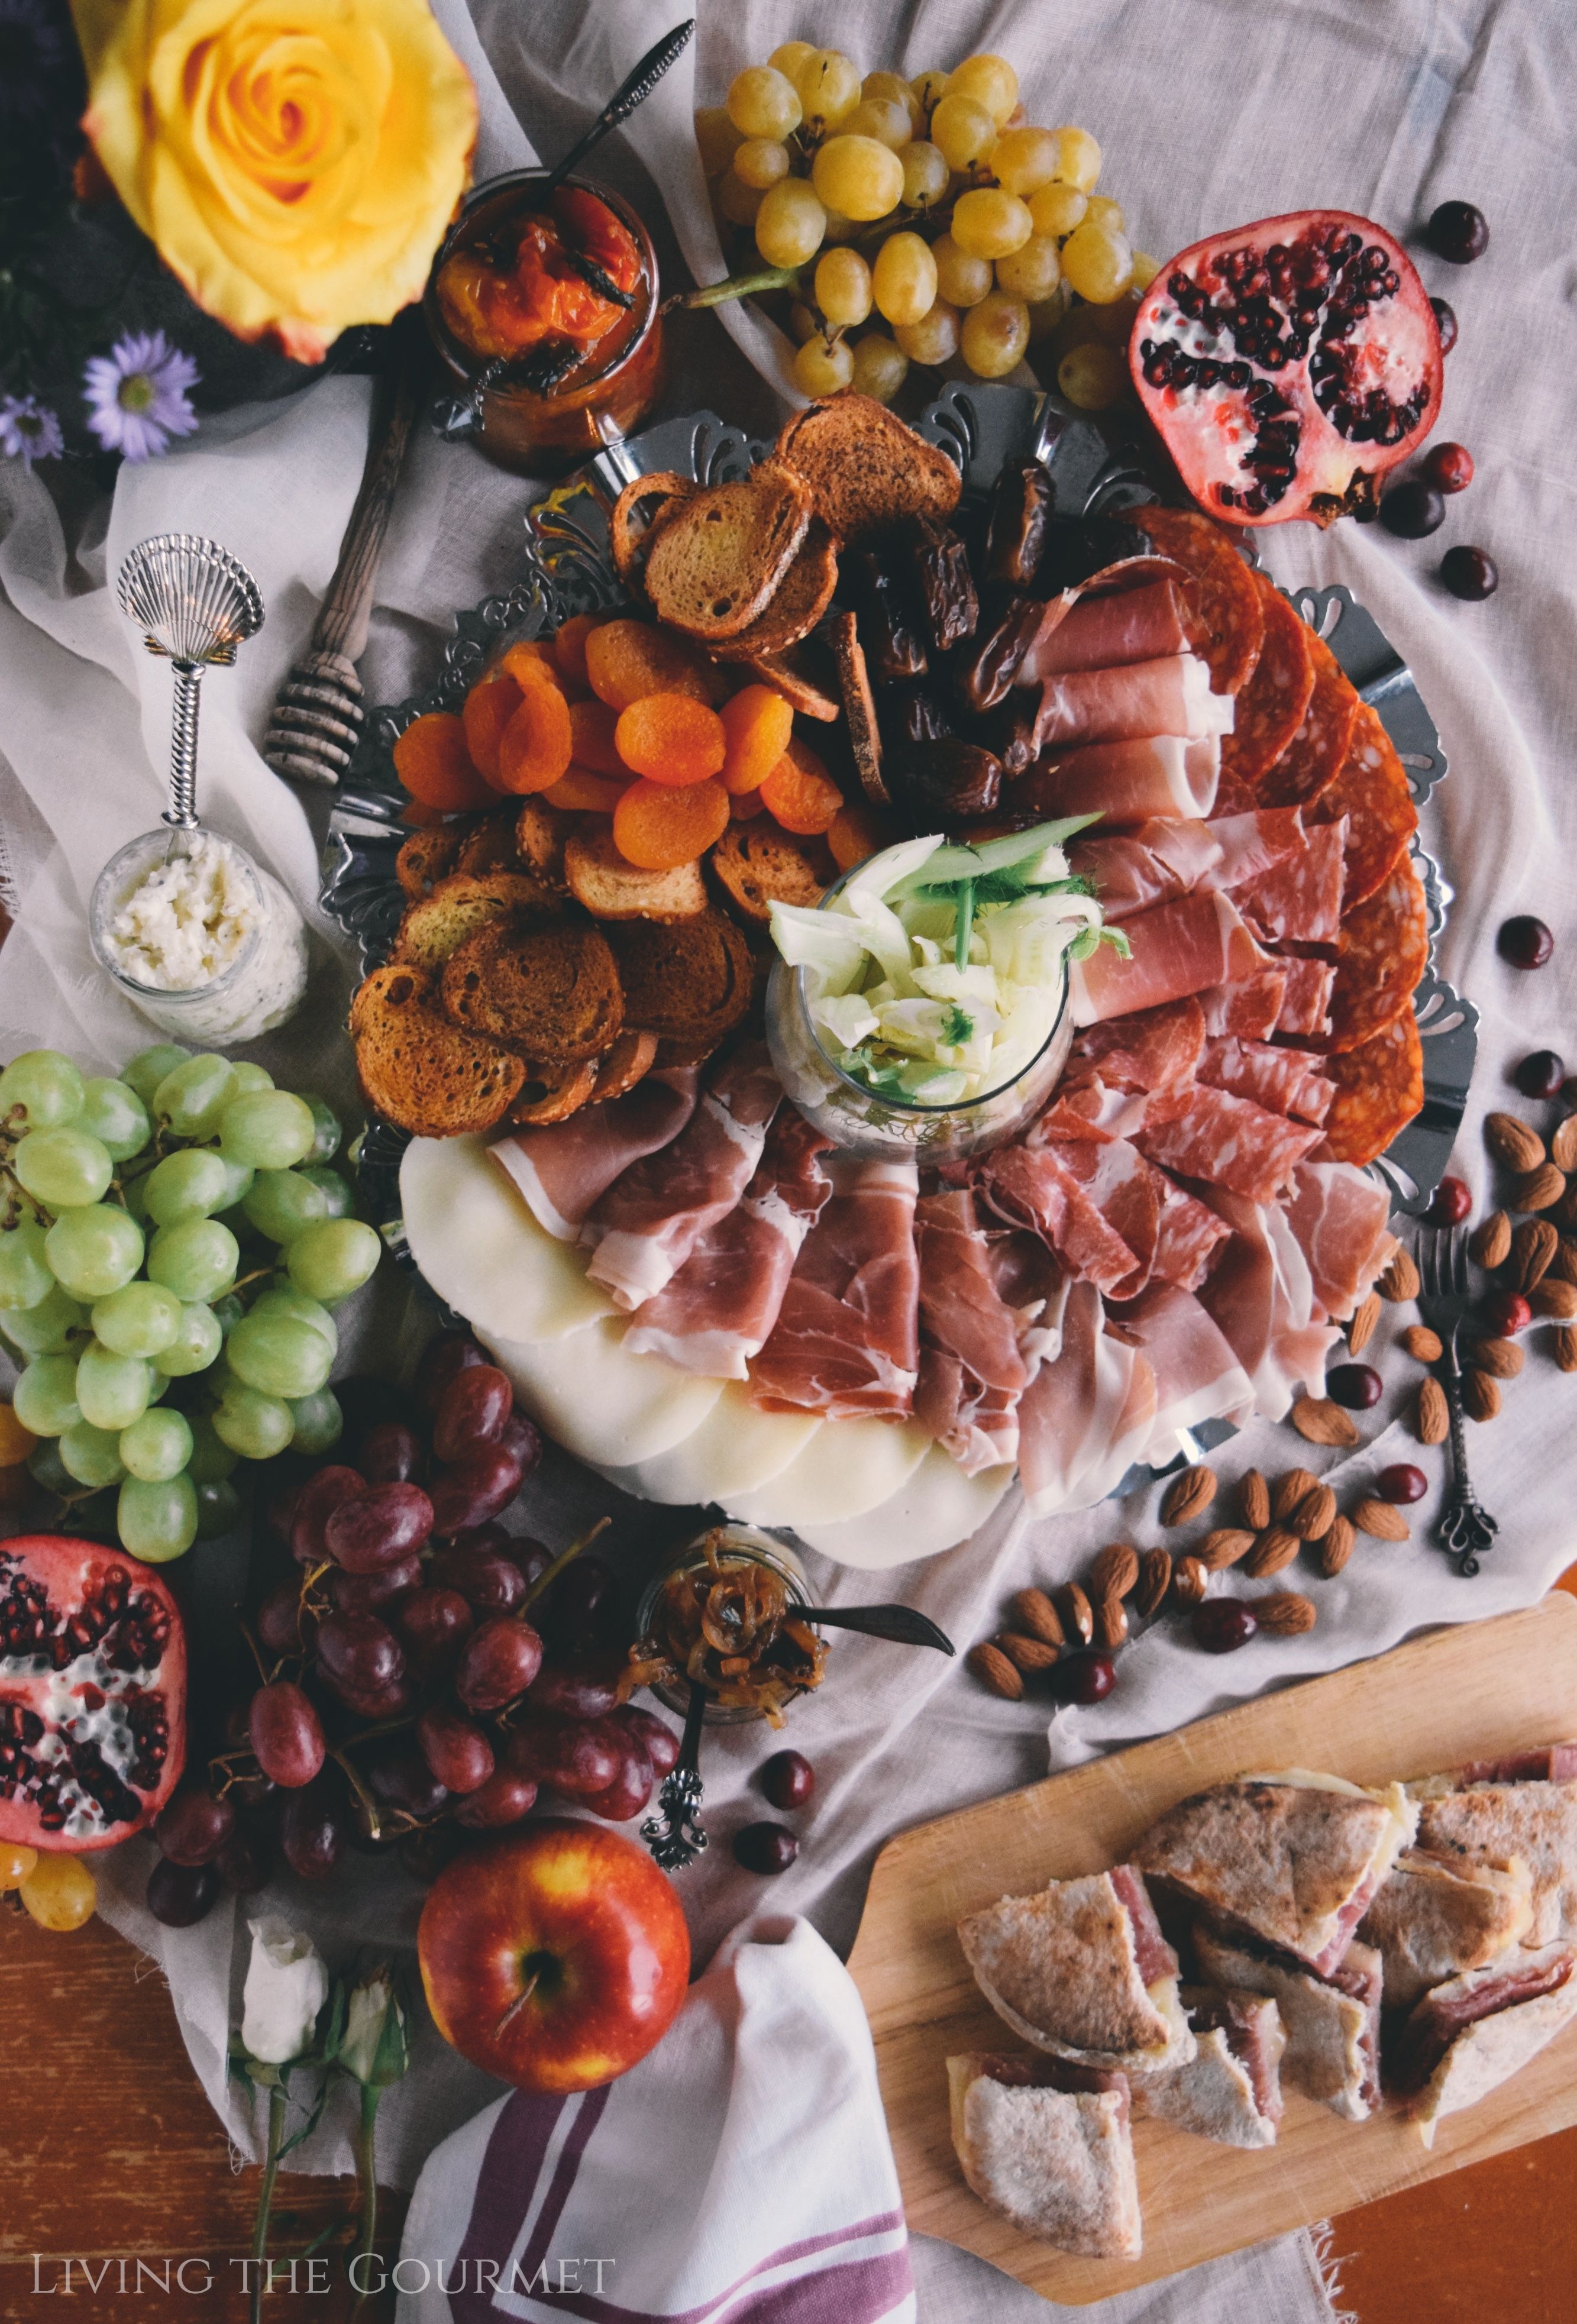
The Sum Of Its Parts – Piece by Piece
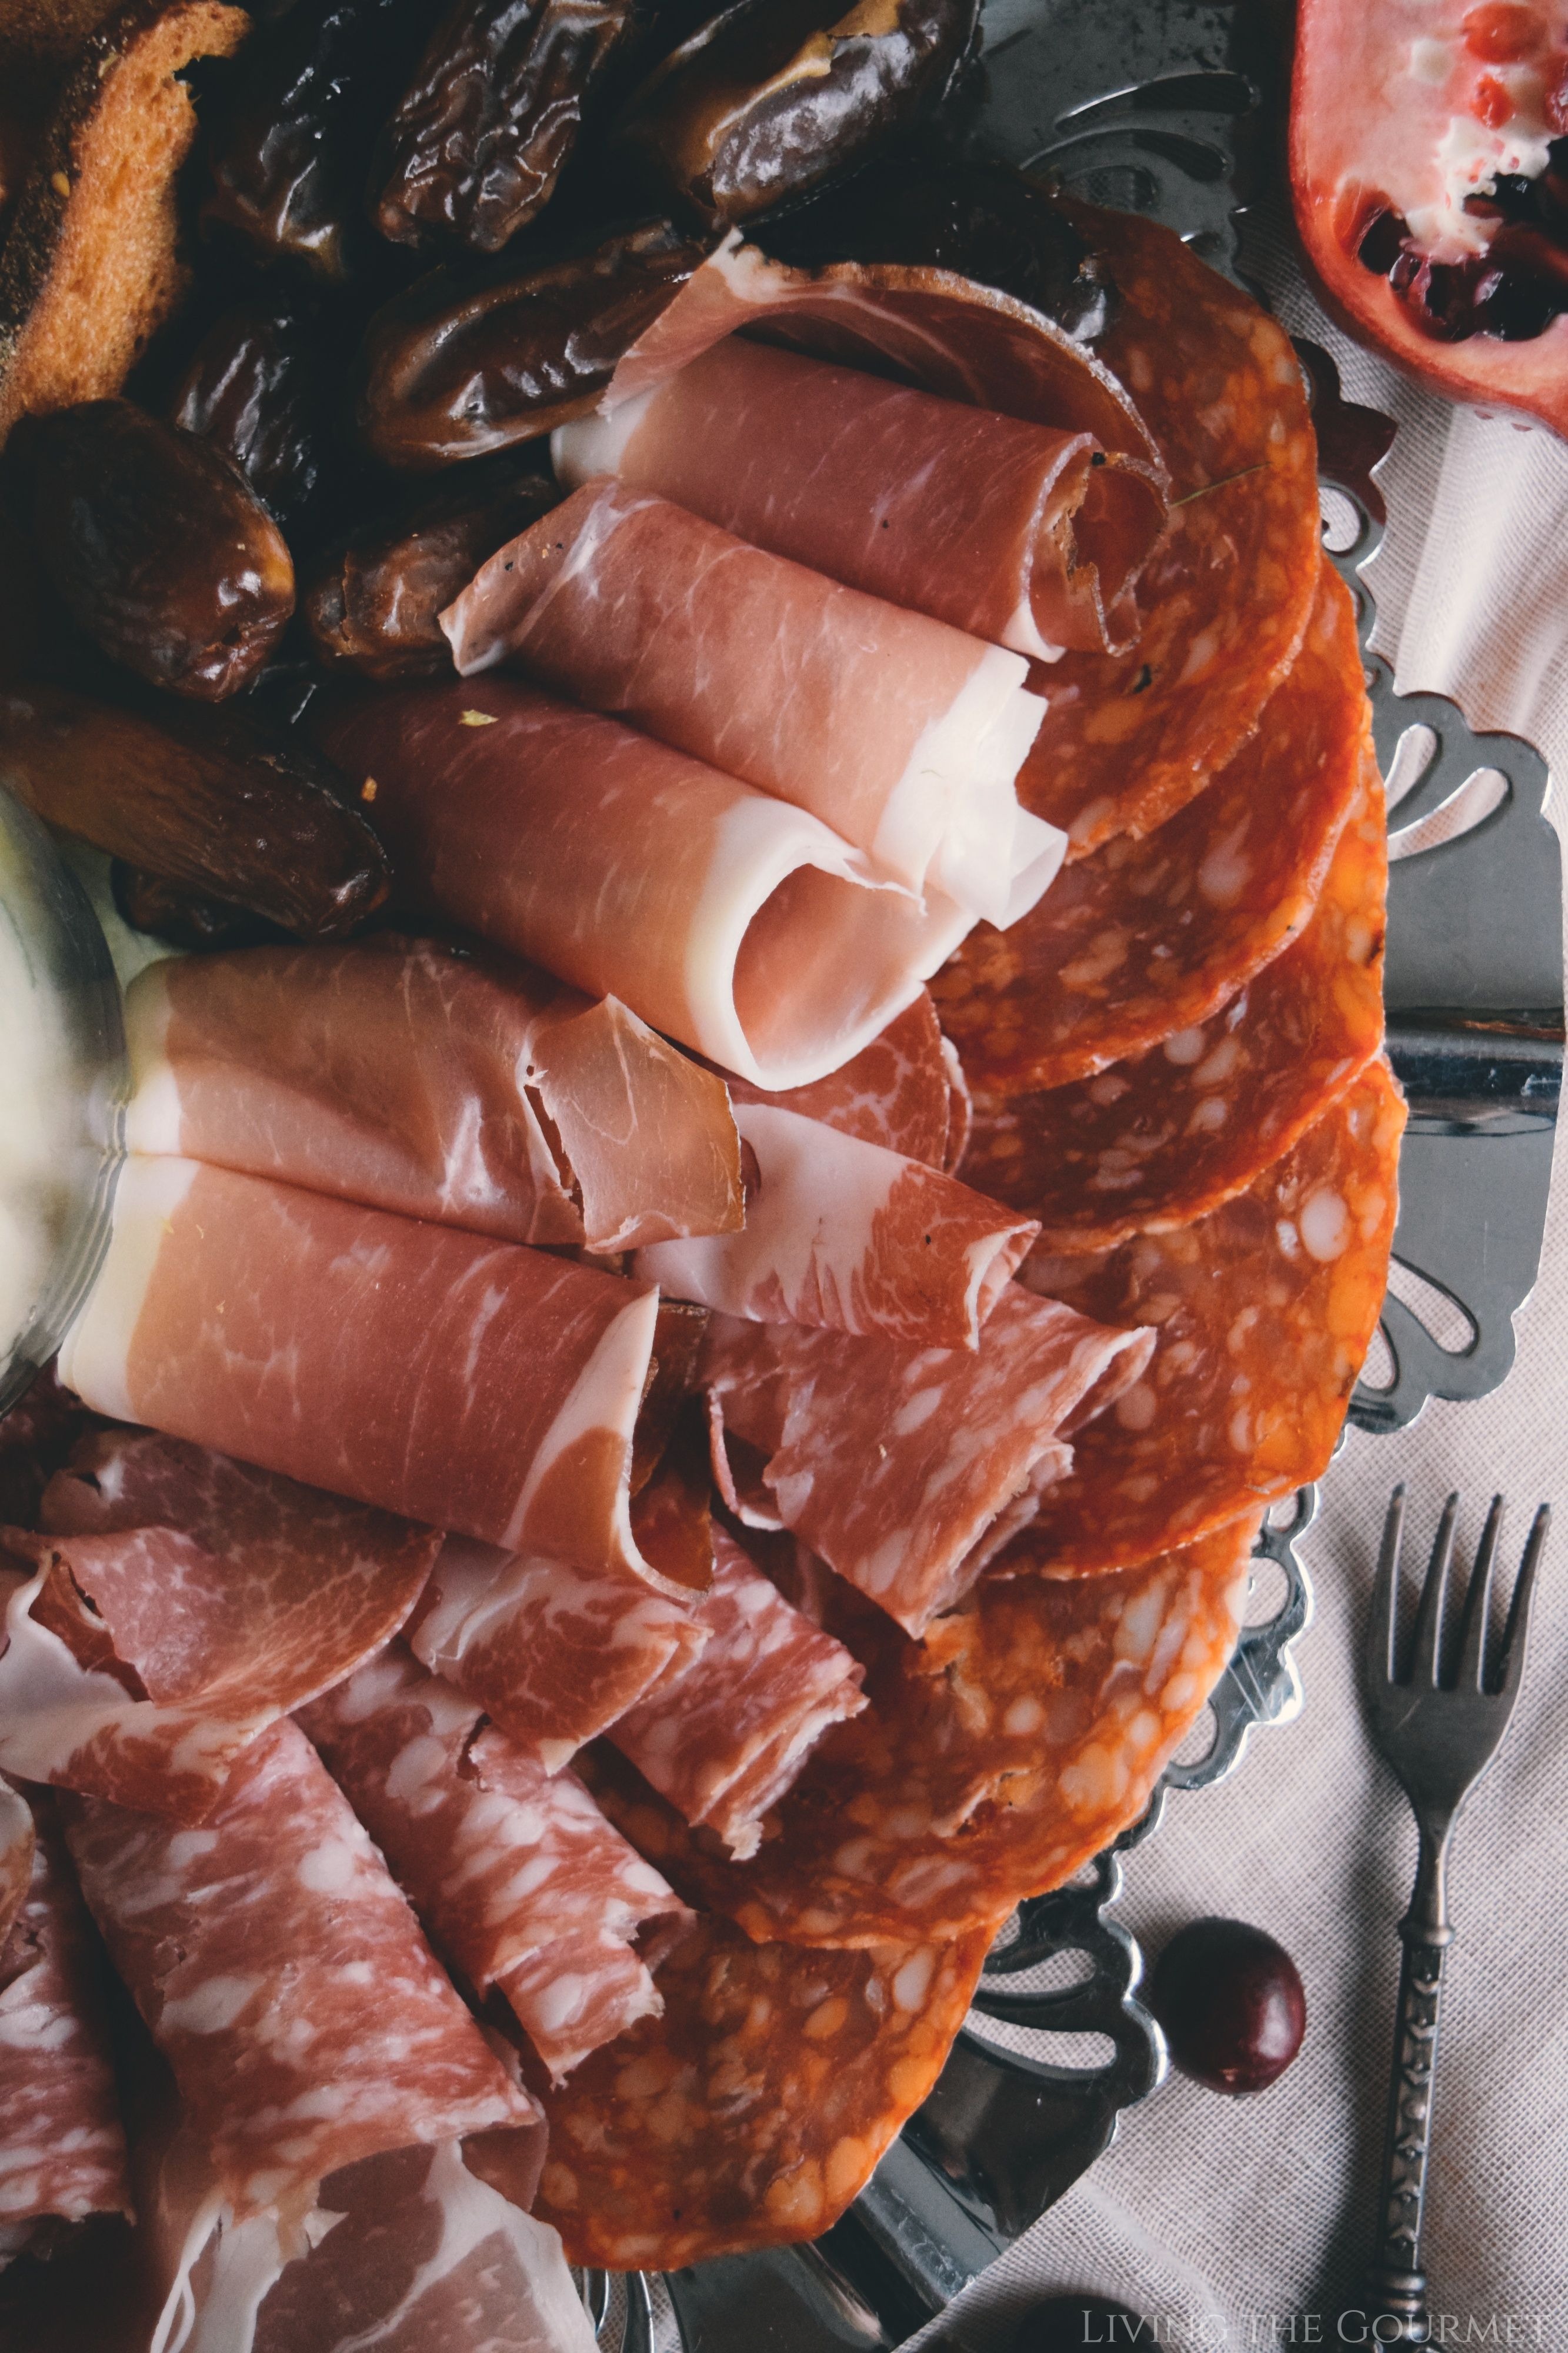
1) The Star of the Show – The Meat. Let's be real, not even the best pairings or the most precise presentation can save a charcuterie board if the meat is subpar. Thankfully, Veroni , backed by nearly a century of experience, offers a variety of quality meats and cheeses (along with a multitude of other products) that are perfect for things like today's charcuterie board, or 'gourmet' sandwiches.
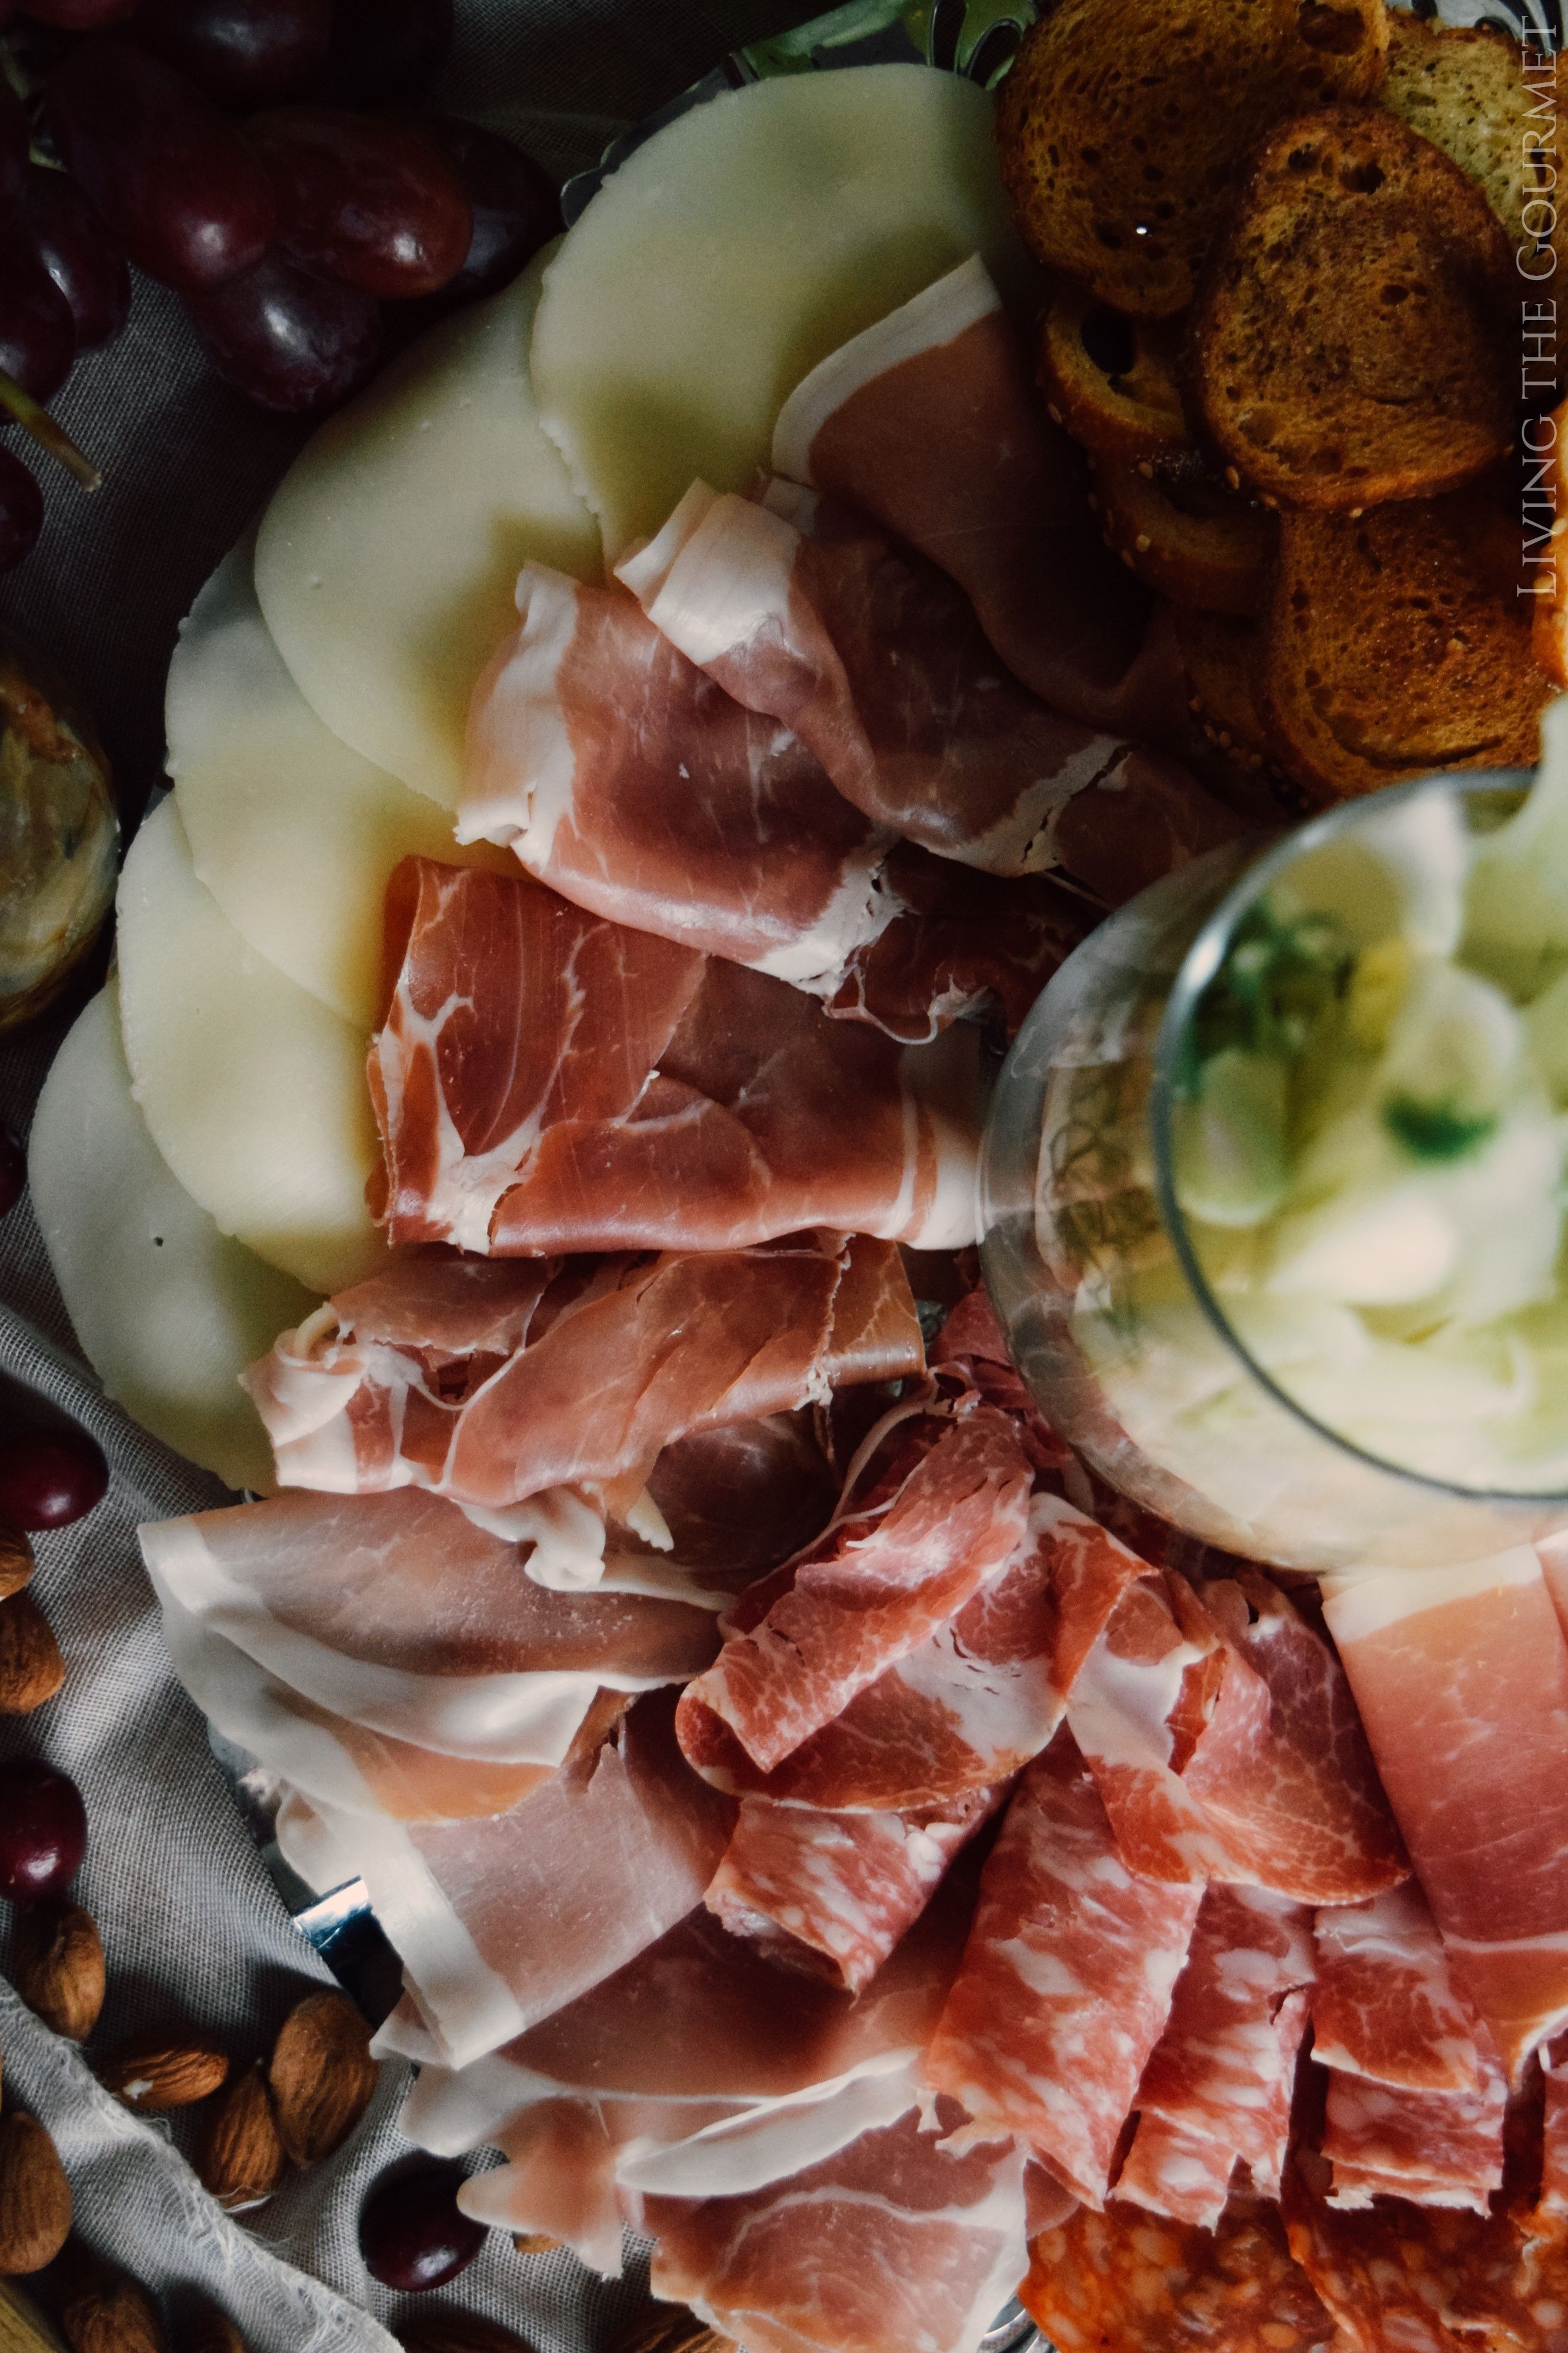
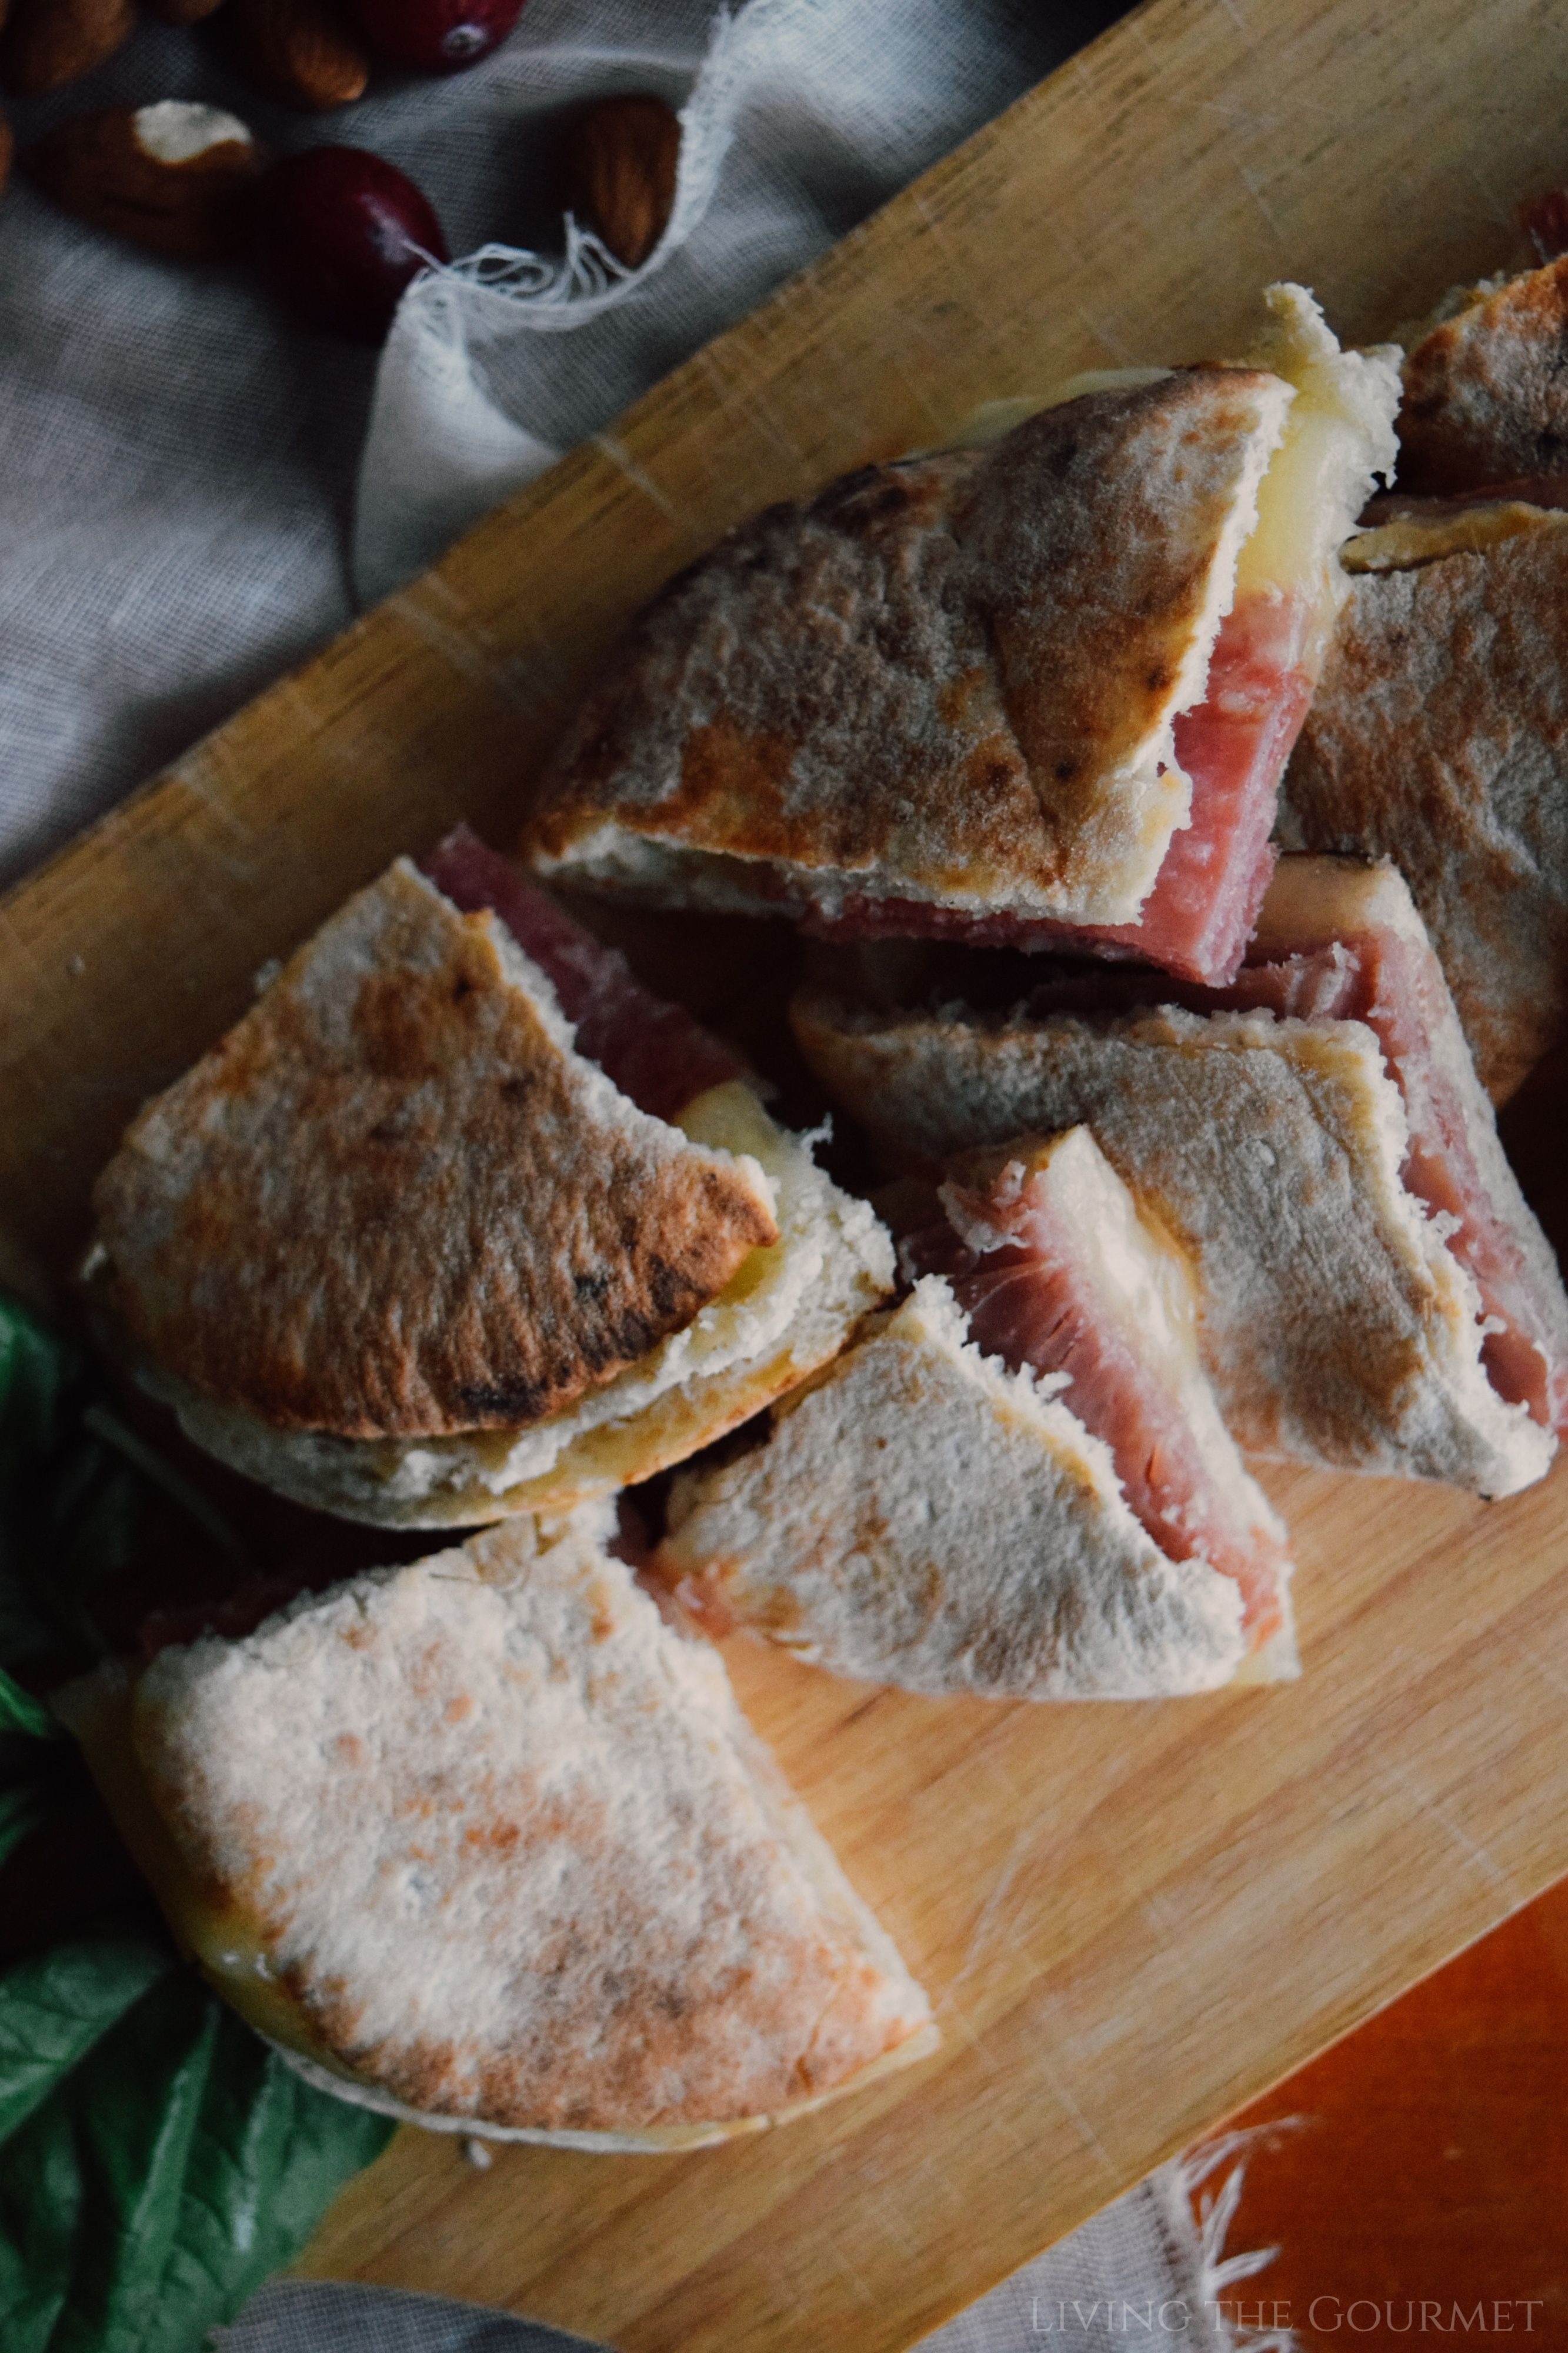
Today, we're using their 'Spec Italiano,' which is a dry-cured smoked ham, along with their 'Antipasto Italiano' pack, which includes Italian Prosciutto and sliced Provolone. We're also using their 'Salami Milano,' which is a mild salami seasoned with garlic and pepper, and their 'Salami de Parma,' which is also a mild salami, but is seasoned with salt and pepper. You'll also notice sliced panini in the photos, which are from Veroni as well, they're adorable little sandwiches, and come packed with Veroni's quality meats and cheeses.
We gave the paninis a quick heat in the toaster oven, and then sliced them up onto a board as a nice side to today's spread. On a side note, Veroni is famous for their giant Mortedella, so I highly recommend trying out their Mortedella as well. Devoted to producing their products in an ecologically friendly manner, and with guaranteed quality, Veroni offers a line of products that you can truly feel good about purchasing.
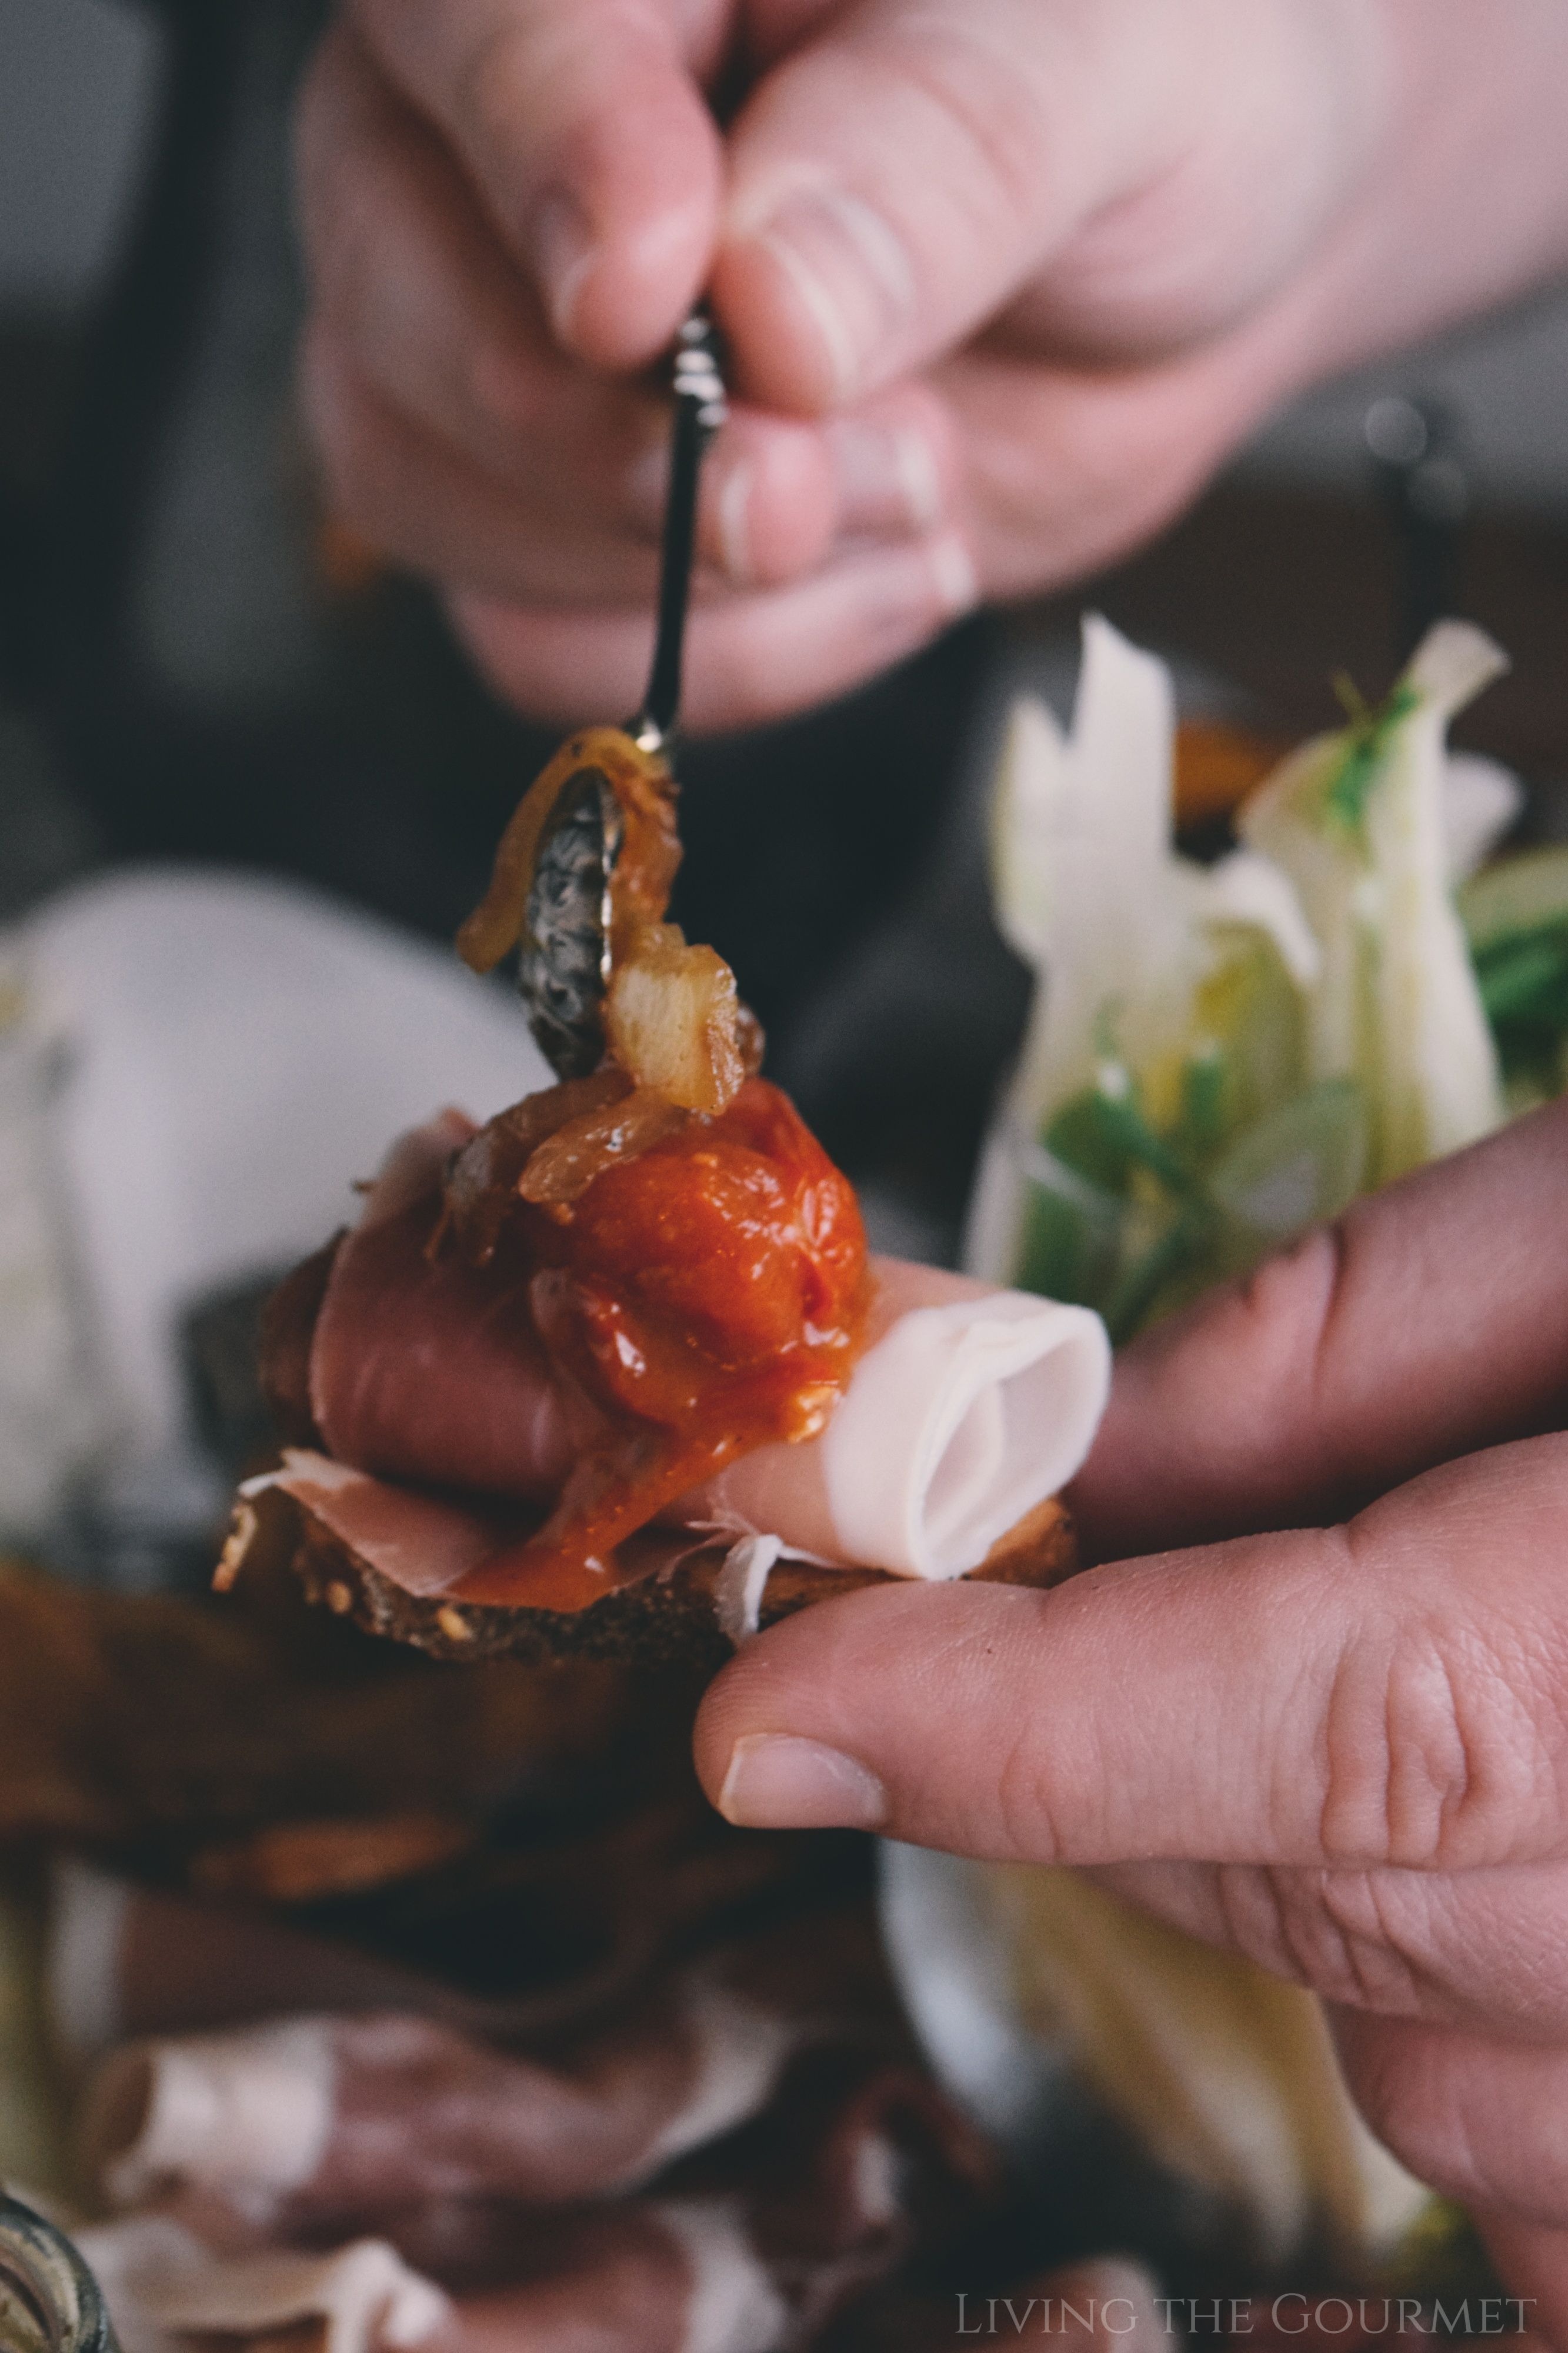
2) Homemade Crostini. The 'base' for today's spread, these delightful little bites are simple, if tedious, to prepare, and have been a crowd favorite in my family for years now. However, the true beauty of crostini is that you can do pretty much anything with them, from lox, cream cheese and chives to charcuterie and caramelized onions, to pignoli crusted truffle goat cheese puffs, the possibilities are truly endless, and so I cannot recommend enough that you give homemade crostini a try.
3) Simple Garlic Butter. Buttery goodness plus roasted garlic goodness…it's just too much 'goodness' for me to try to be eloquent about. Spreadable, creamy, garlicy, my daughter described it as "Instant garlic bread in a jar," but this is so much more, picture herbed garlic carried on a soft, creamy texture, and just a touch 'fresh milk' in the background. Anyway, this really couldn't be any easier to prepare. Simply roast a whole head of garlic dry in a cast iron pan, leaving the garlic in its skin. Once the garlic is soft, pop the garlic out of the skin, and put that in a food processor with three tablespoons of unsalted butter along with sea salt, fresh ground black pepper, and dried oregano (each in amounts that suit your preference). Then blend the mixture until creamy, and you're done. This can be used on anything, really. Pro-Tip: Try spreading this on steak for maximum deliciousness.

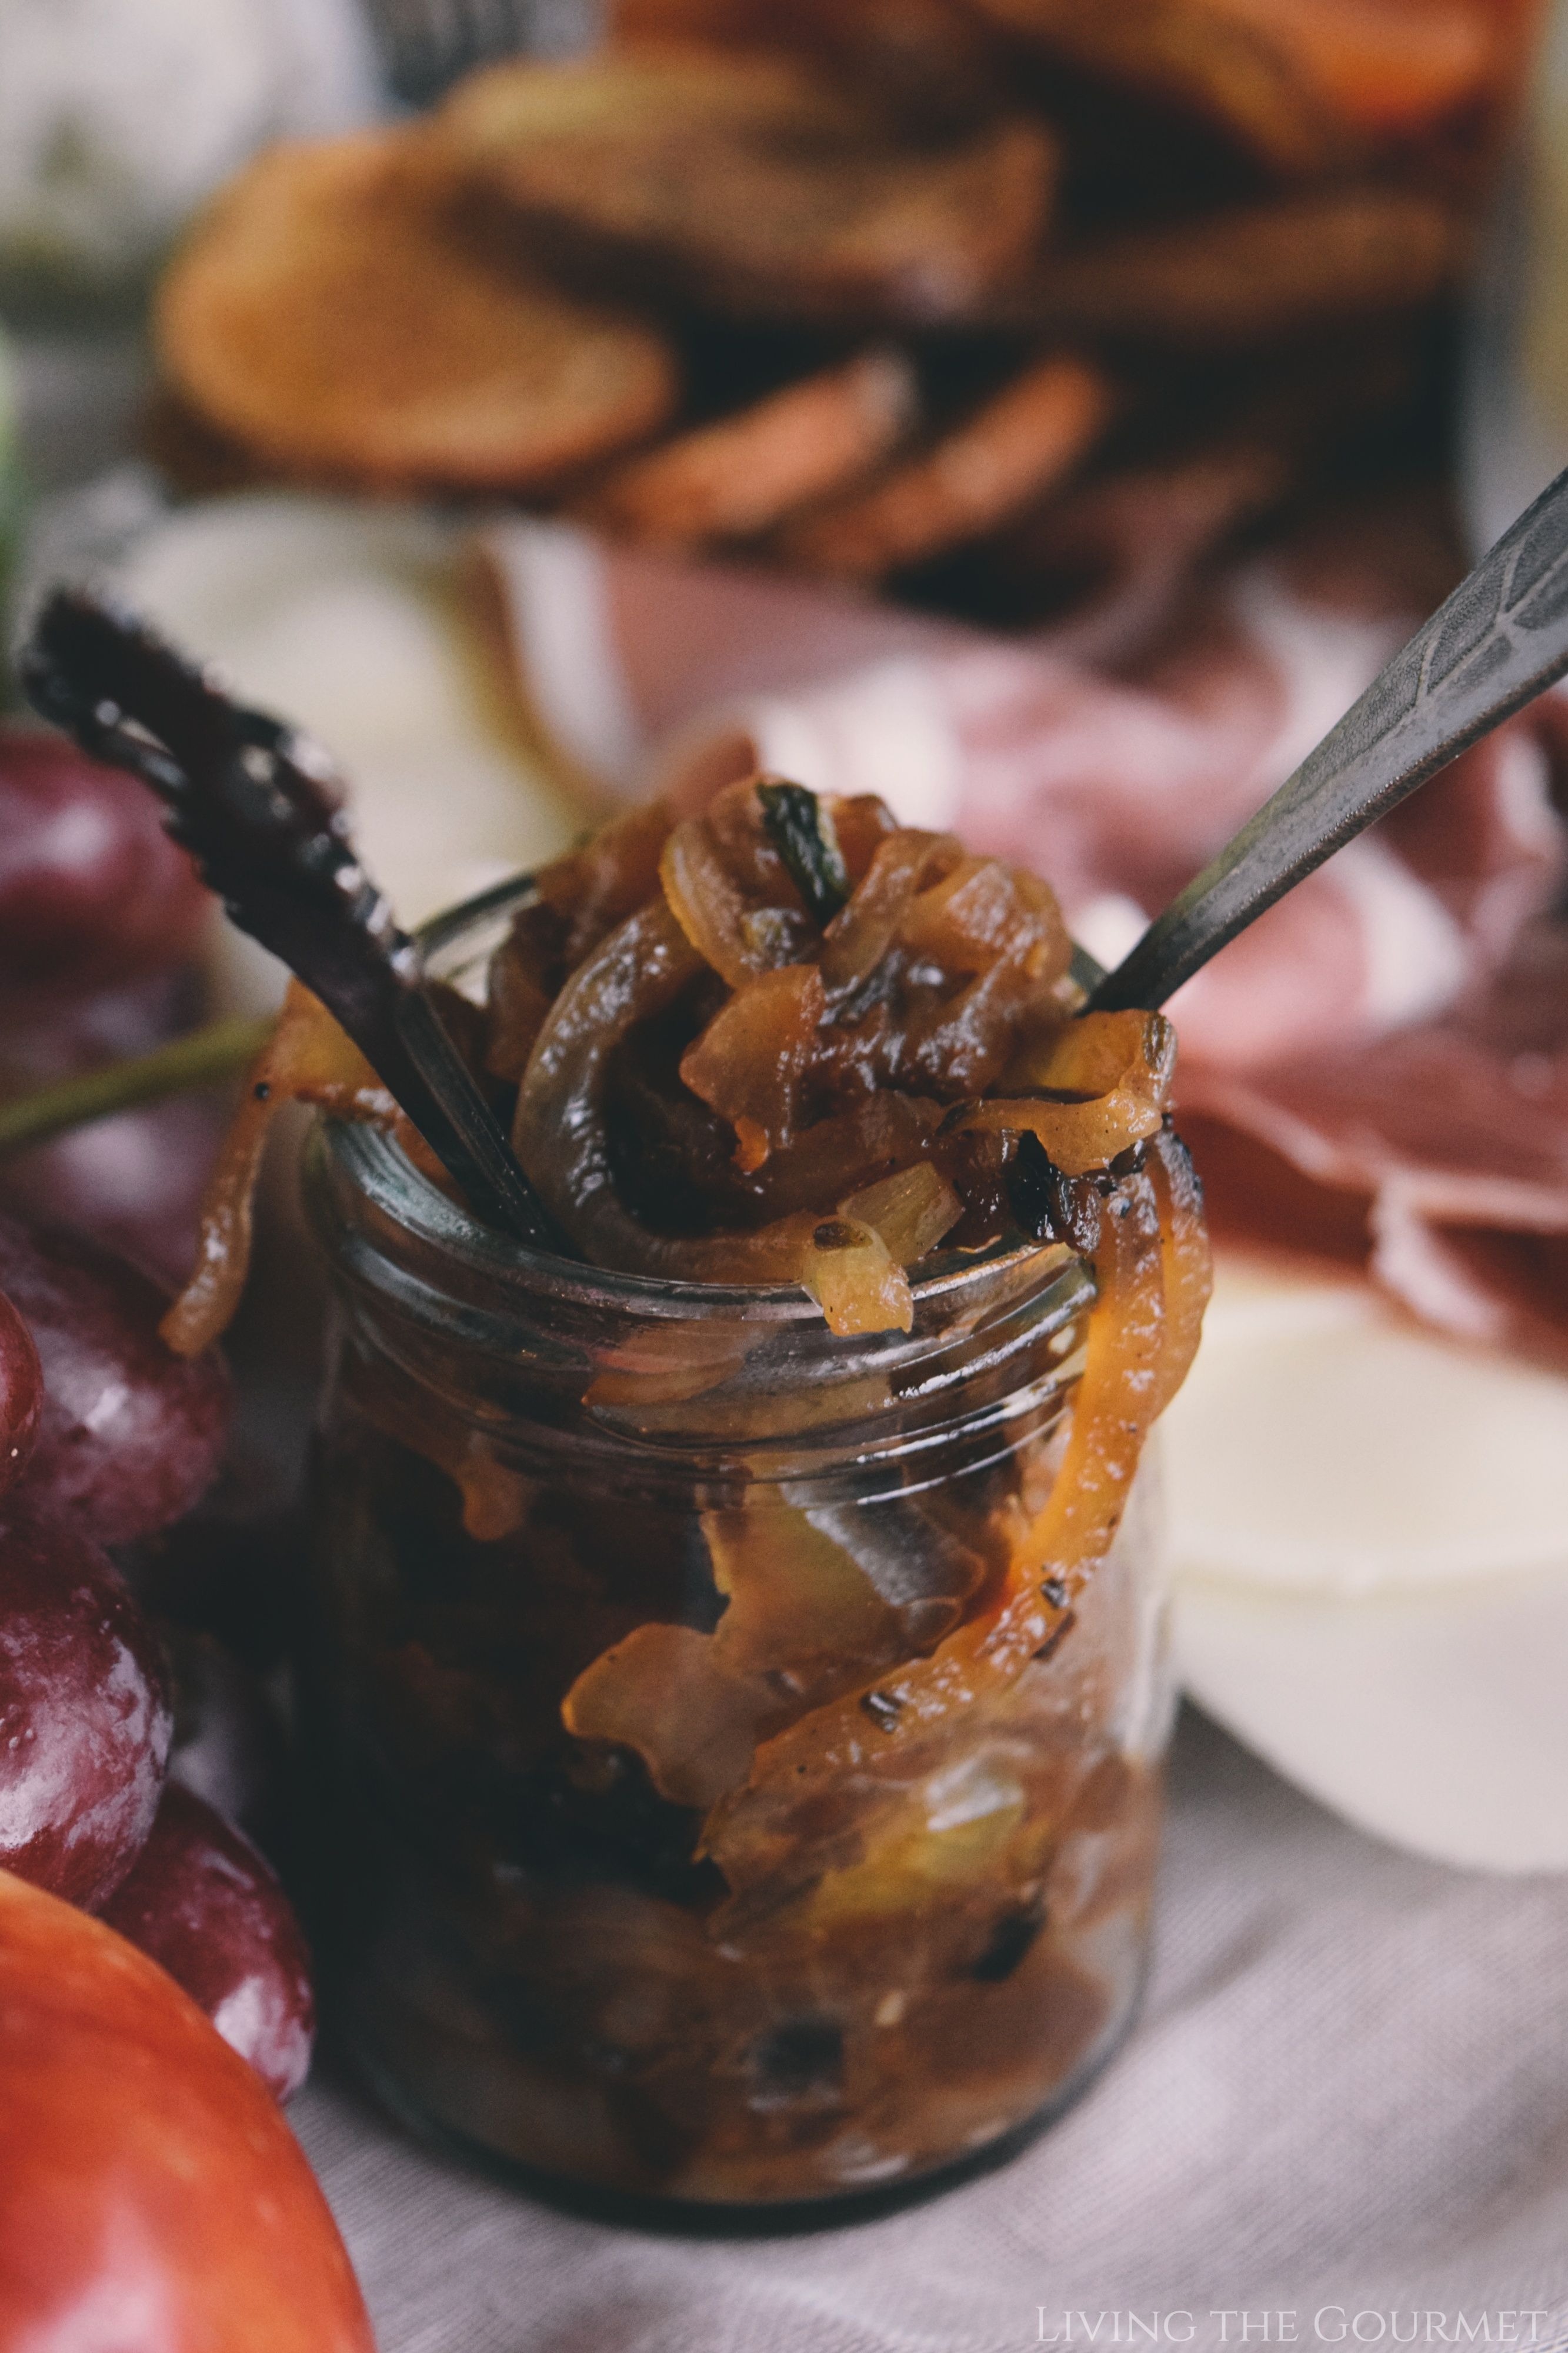
4) Caramelized Onions. A classic by any measure, I'm of the opinion that a 'good' caramelized onion recipe is one of the first things that a person should learn when just starting out in the kitchen. When you can properly caramelize onions, you're ready to make 'really' good sauces, 'gourmet' omelets, steak and onions, and a variety of dips and hummus recipes, in addition to kicked up versions of more traditional toppings such as on burgers and hotdogs. Of course, you can also serve caramelized onions on their own as we did here today as a topping for the crostini to accompany our blistered tomatoes.
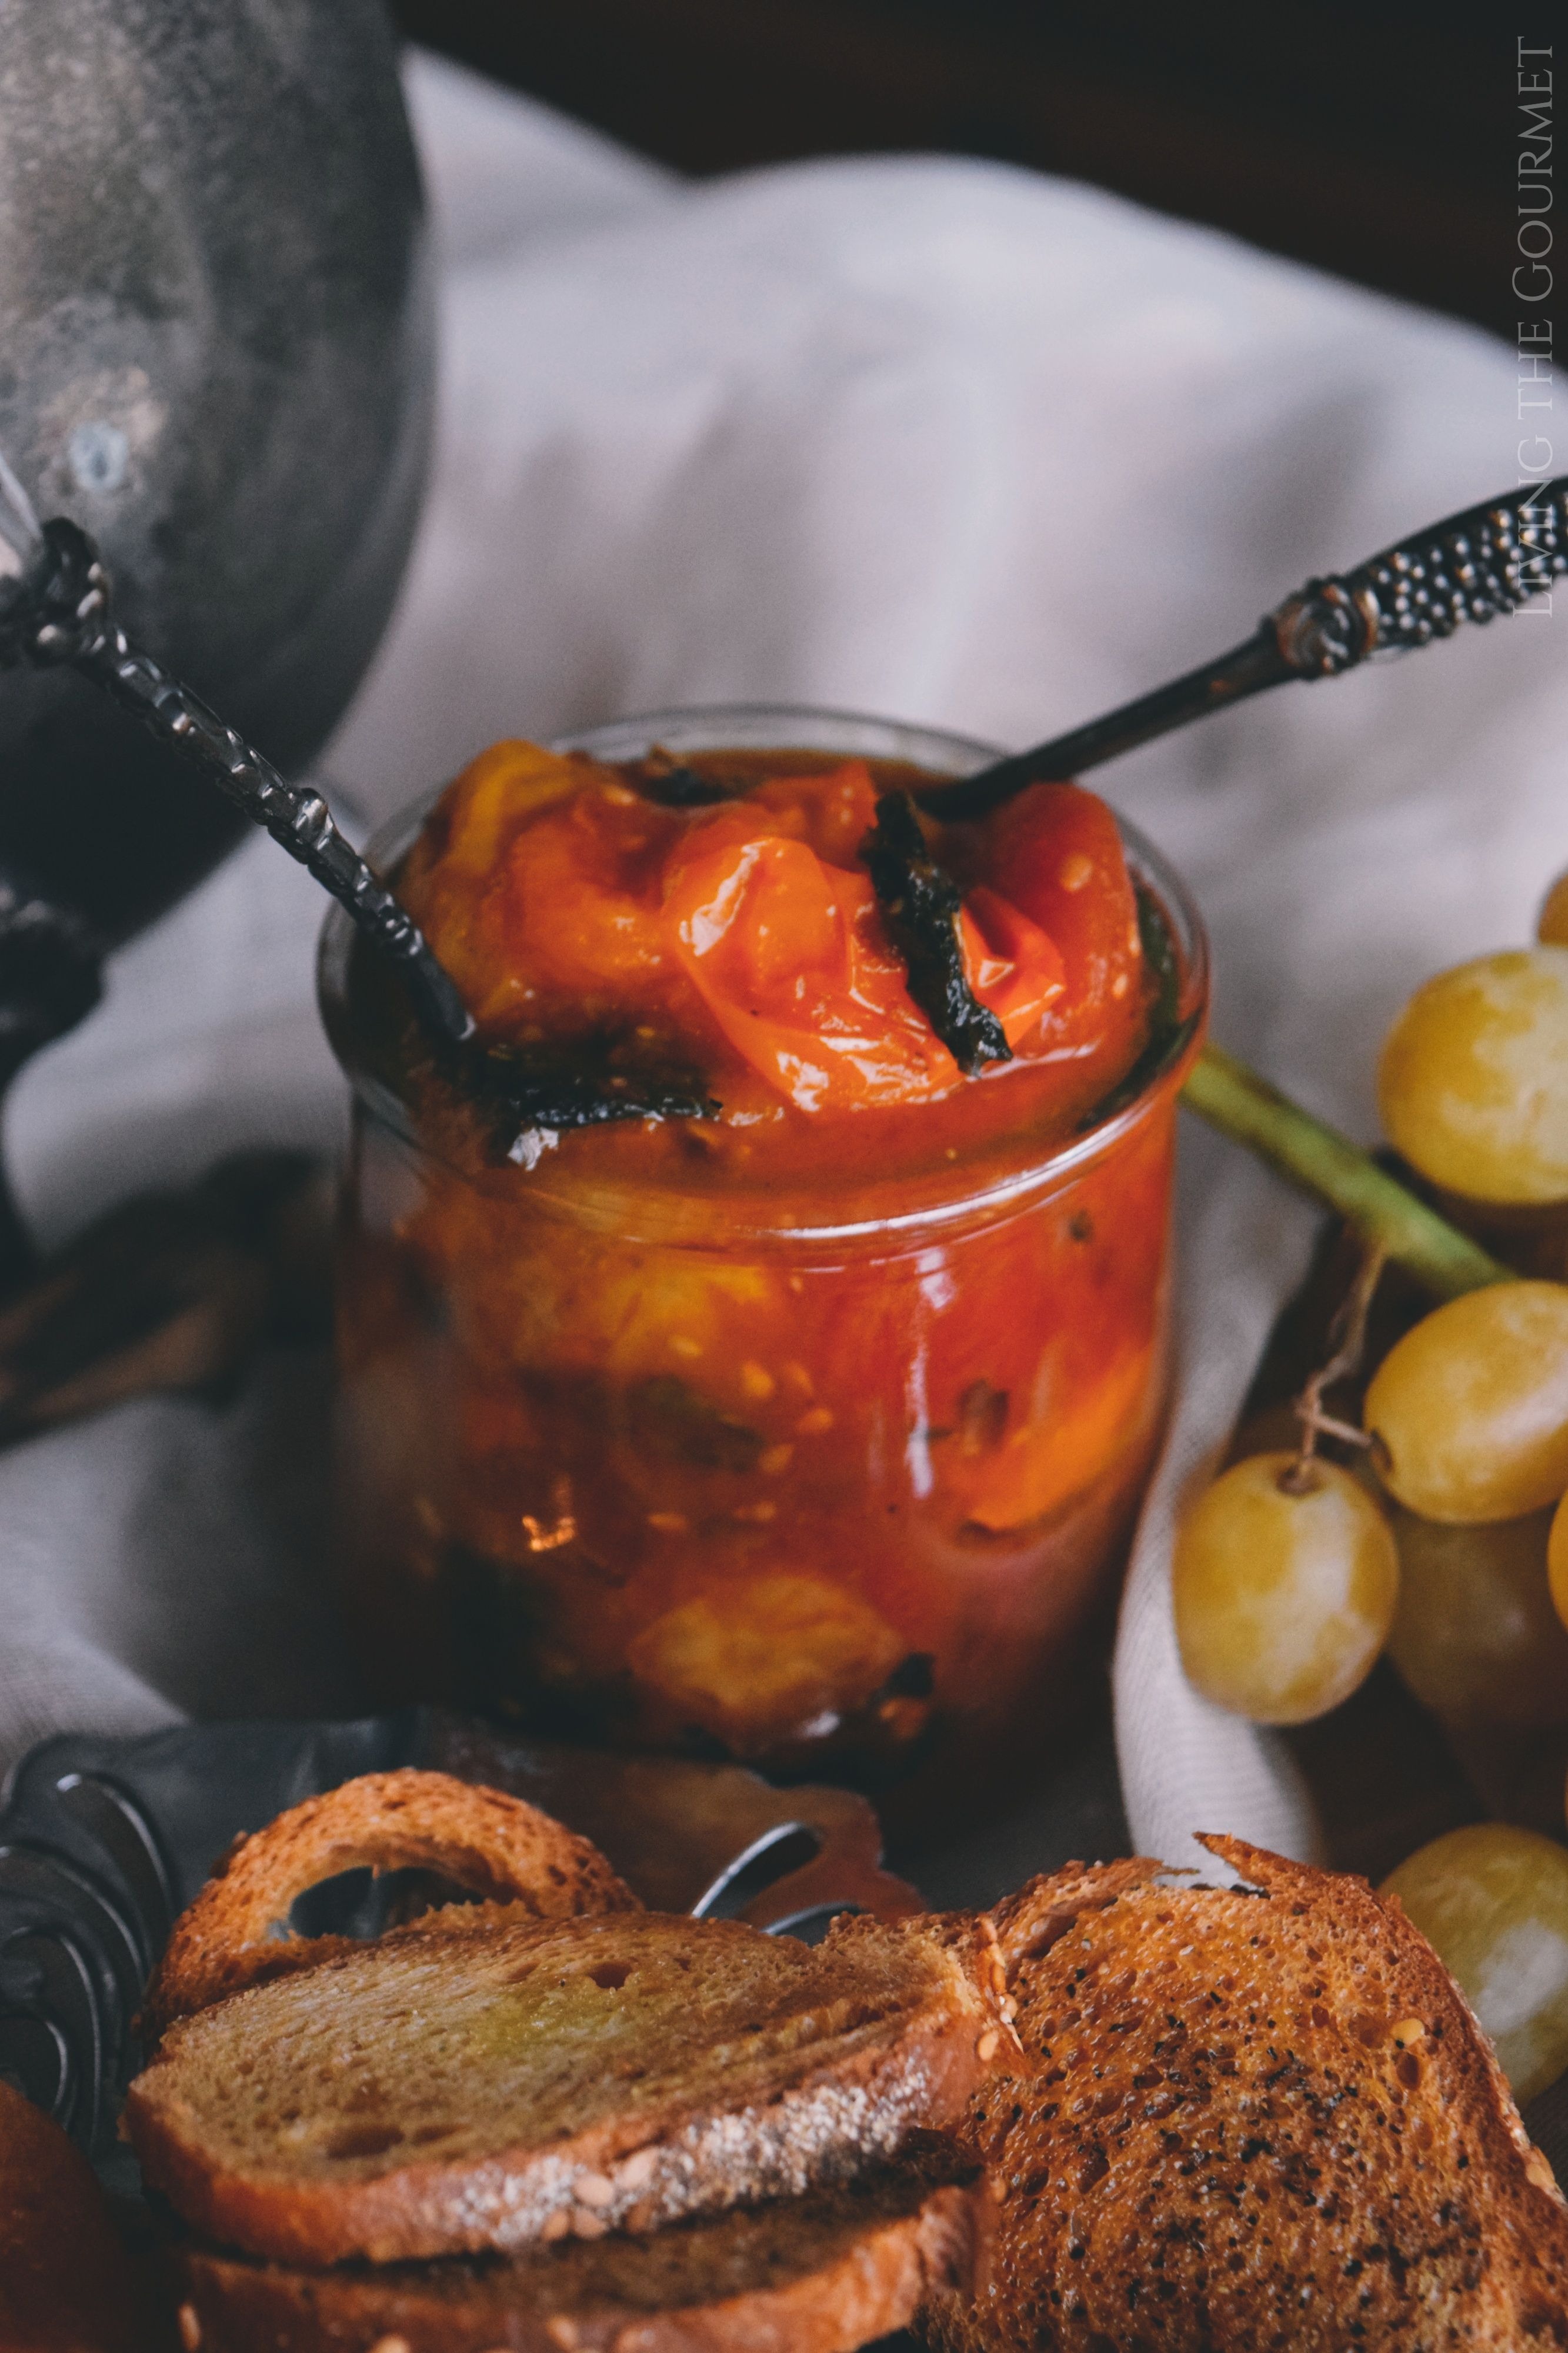
5) Blistered Tomatoes. These tri-colored tomatoes help 'ground' the spread with a warming layer of rustic spiciness, and just a bit of added moisture, which pairs quite pleasantly with the crostini. Conversely, this would also go great on Italian or French bread, if you prefer that to crostini
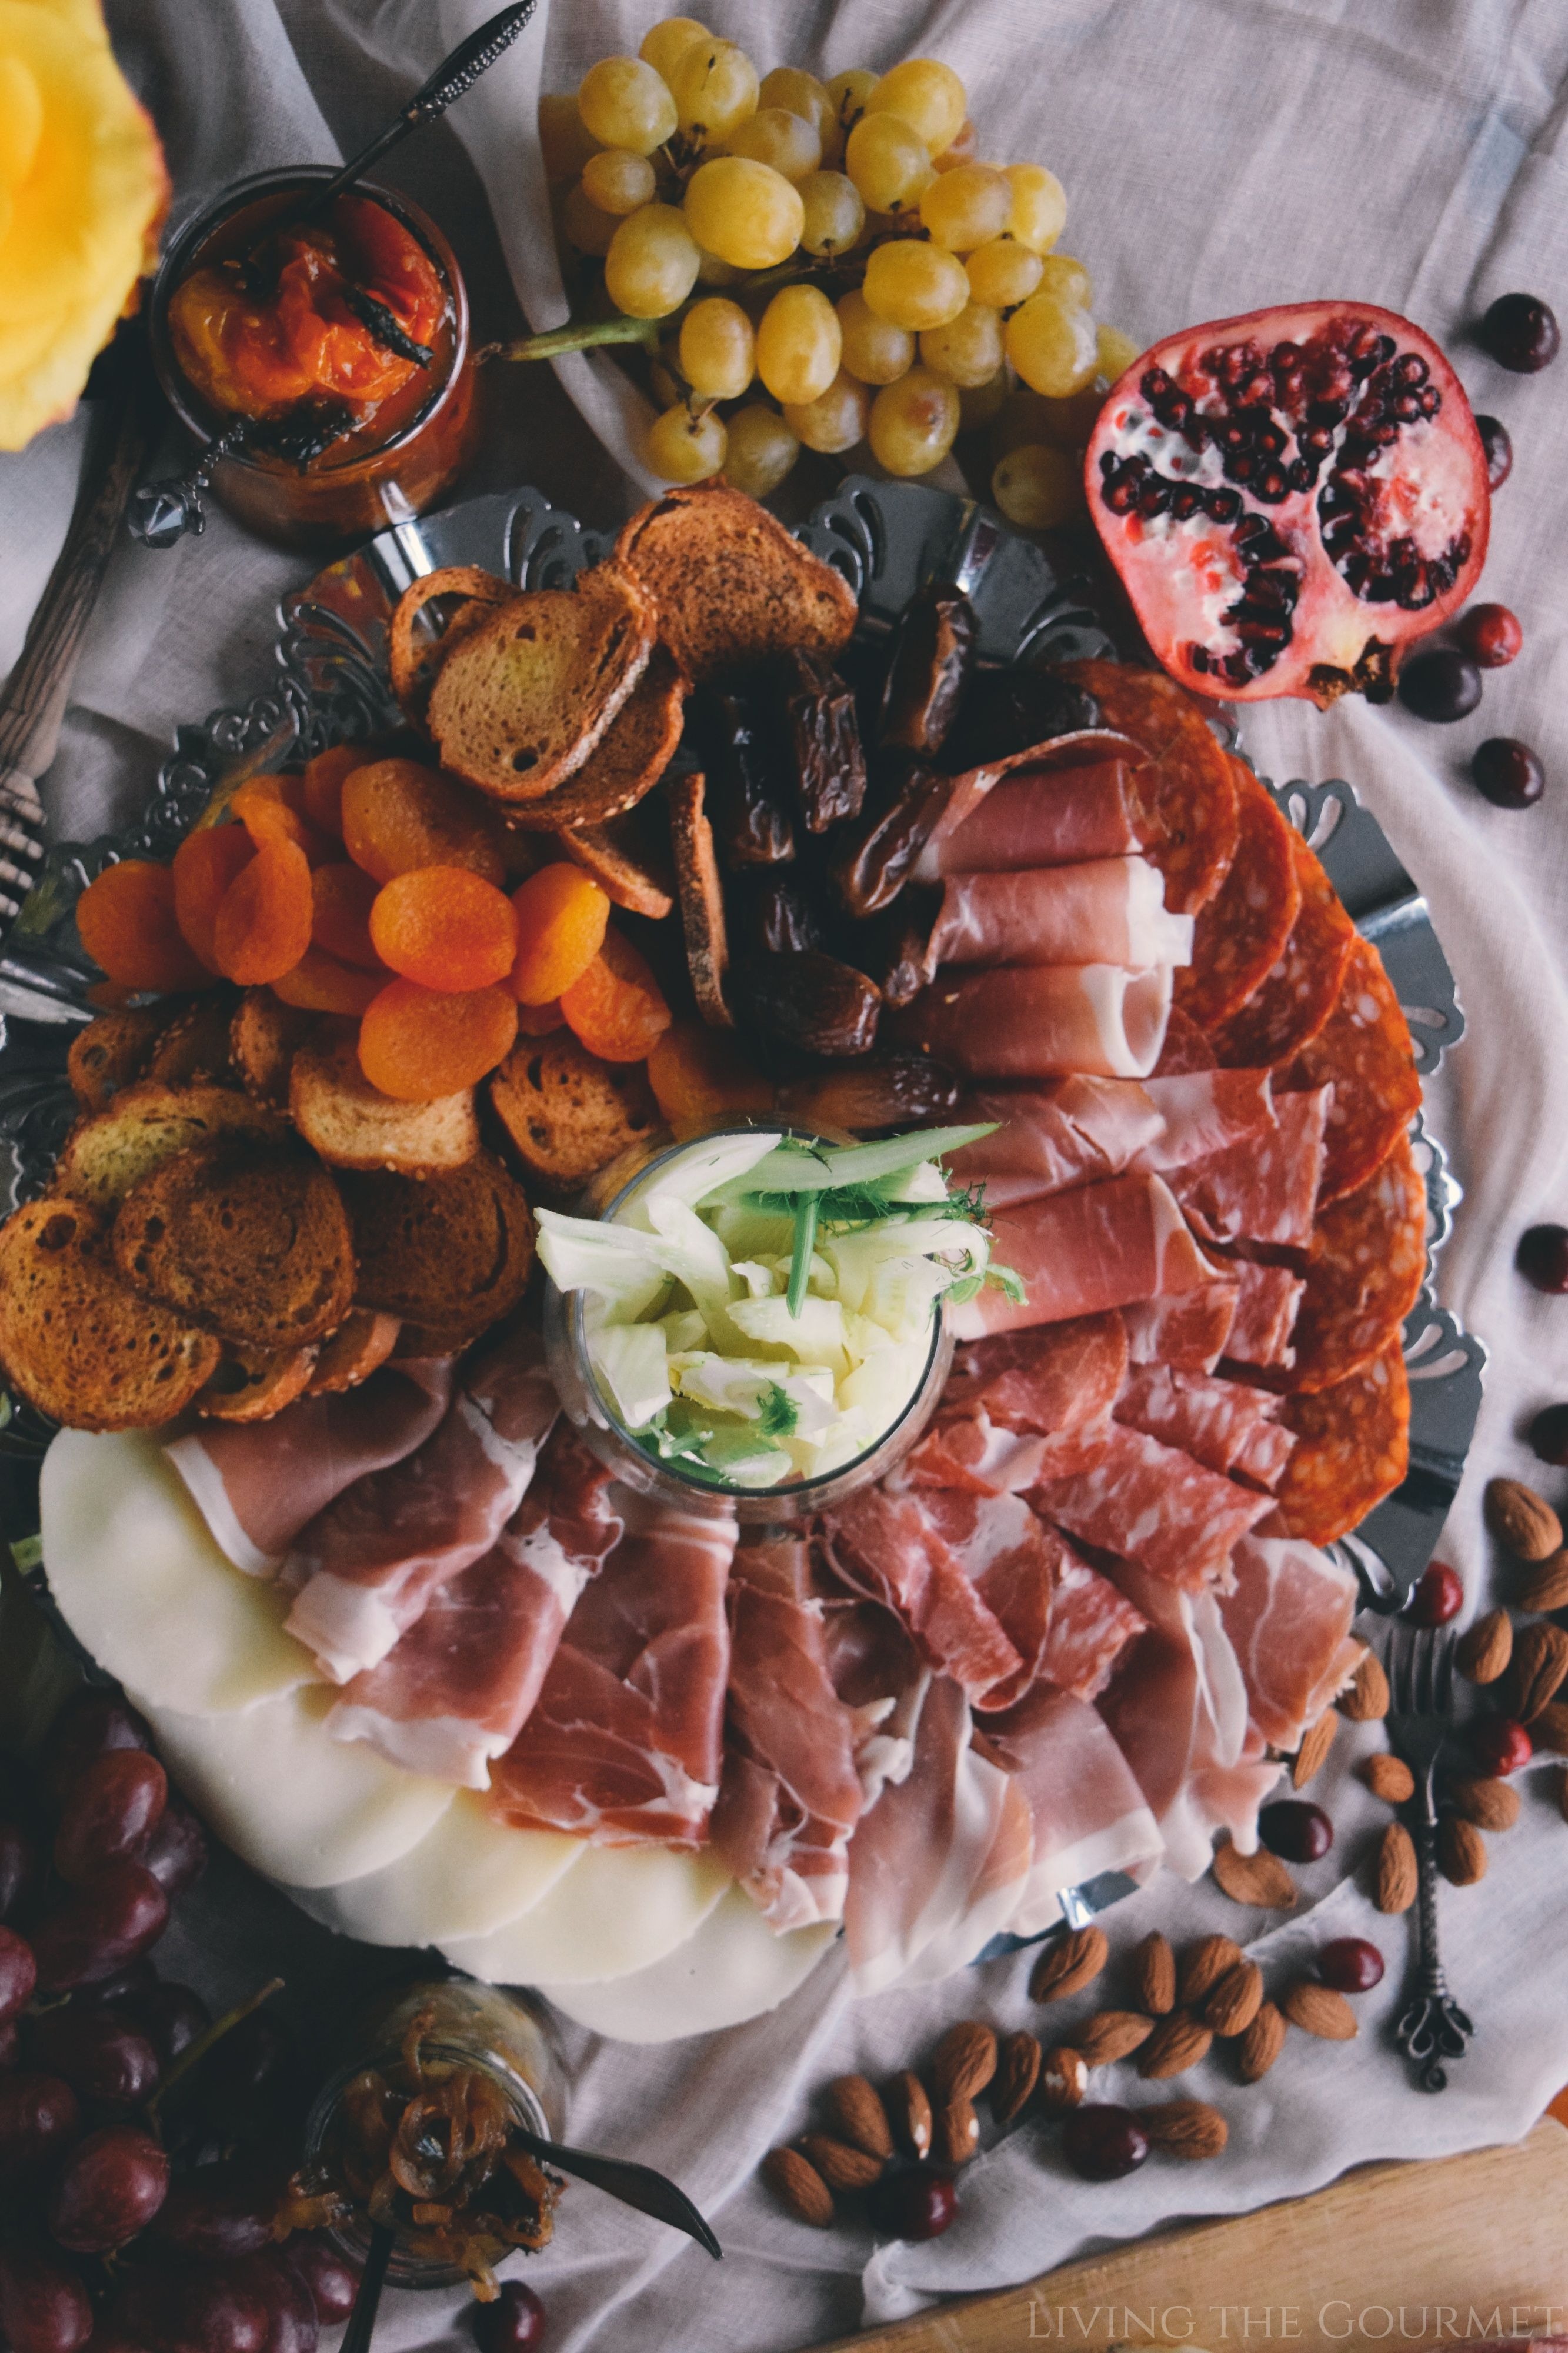
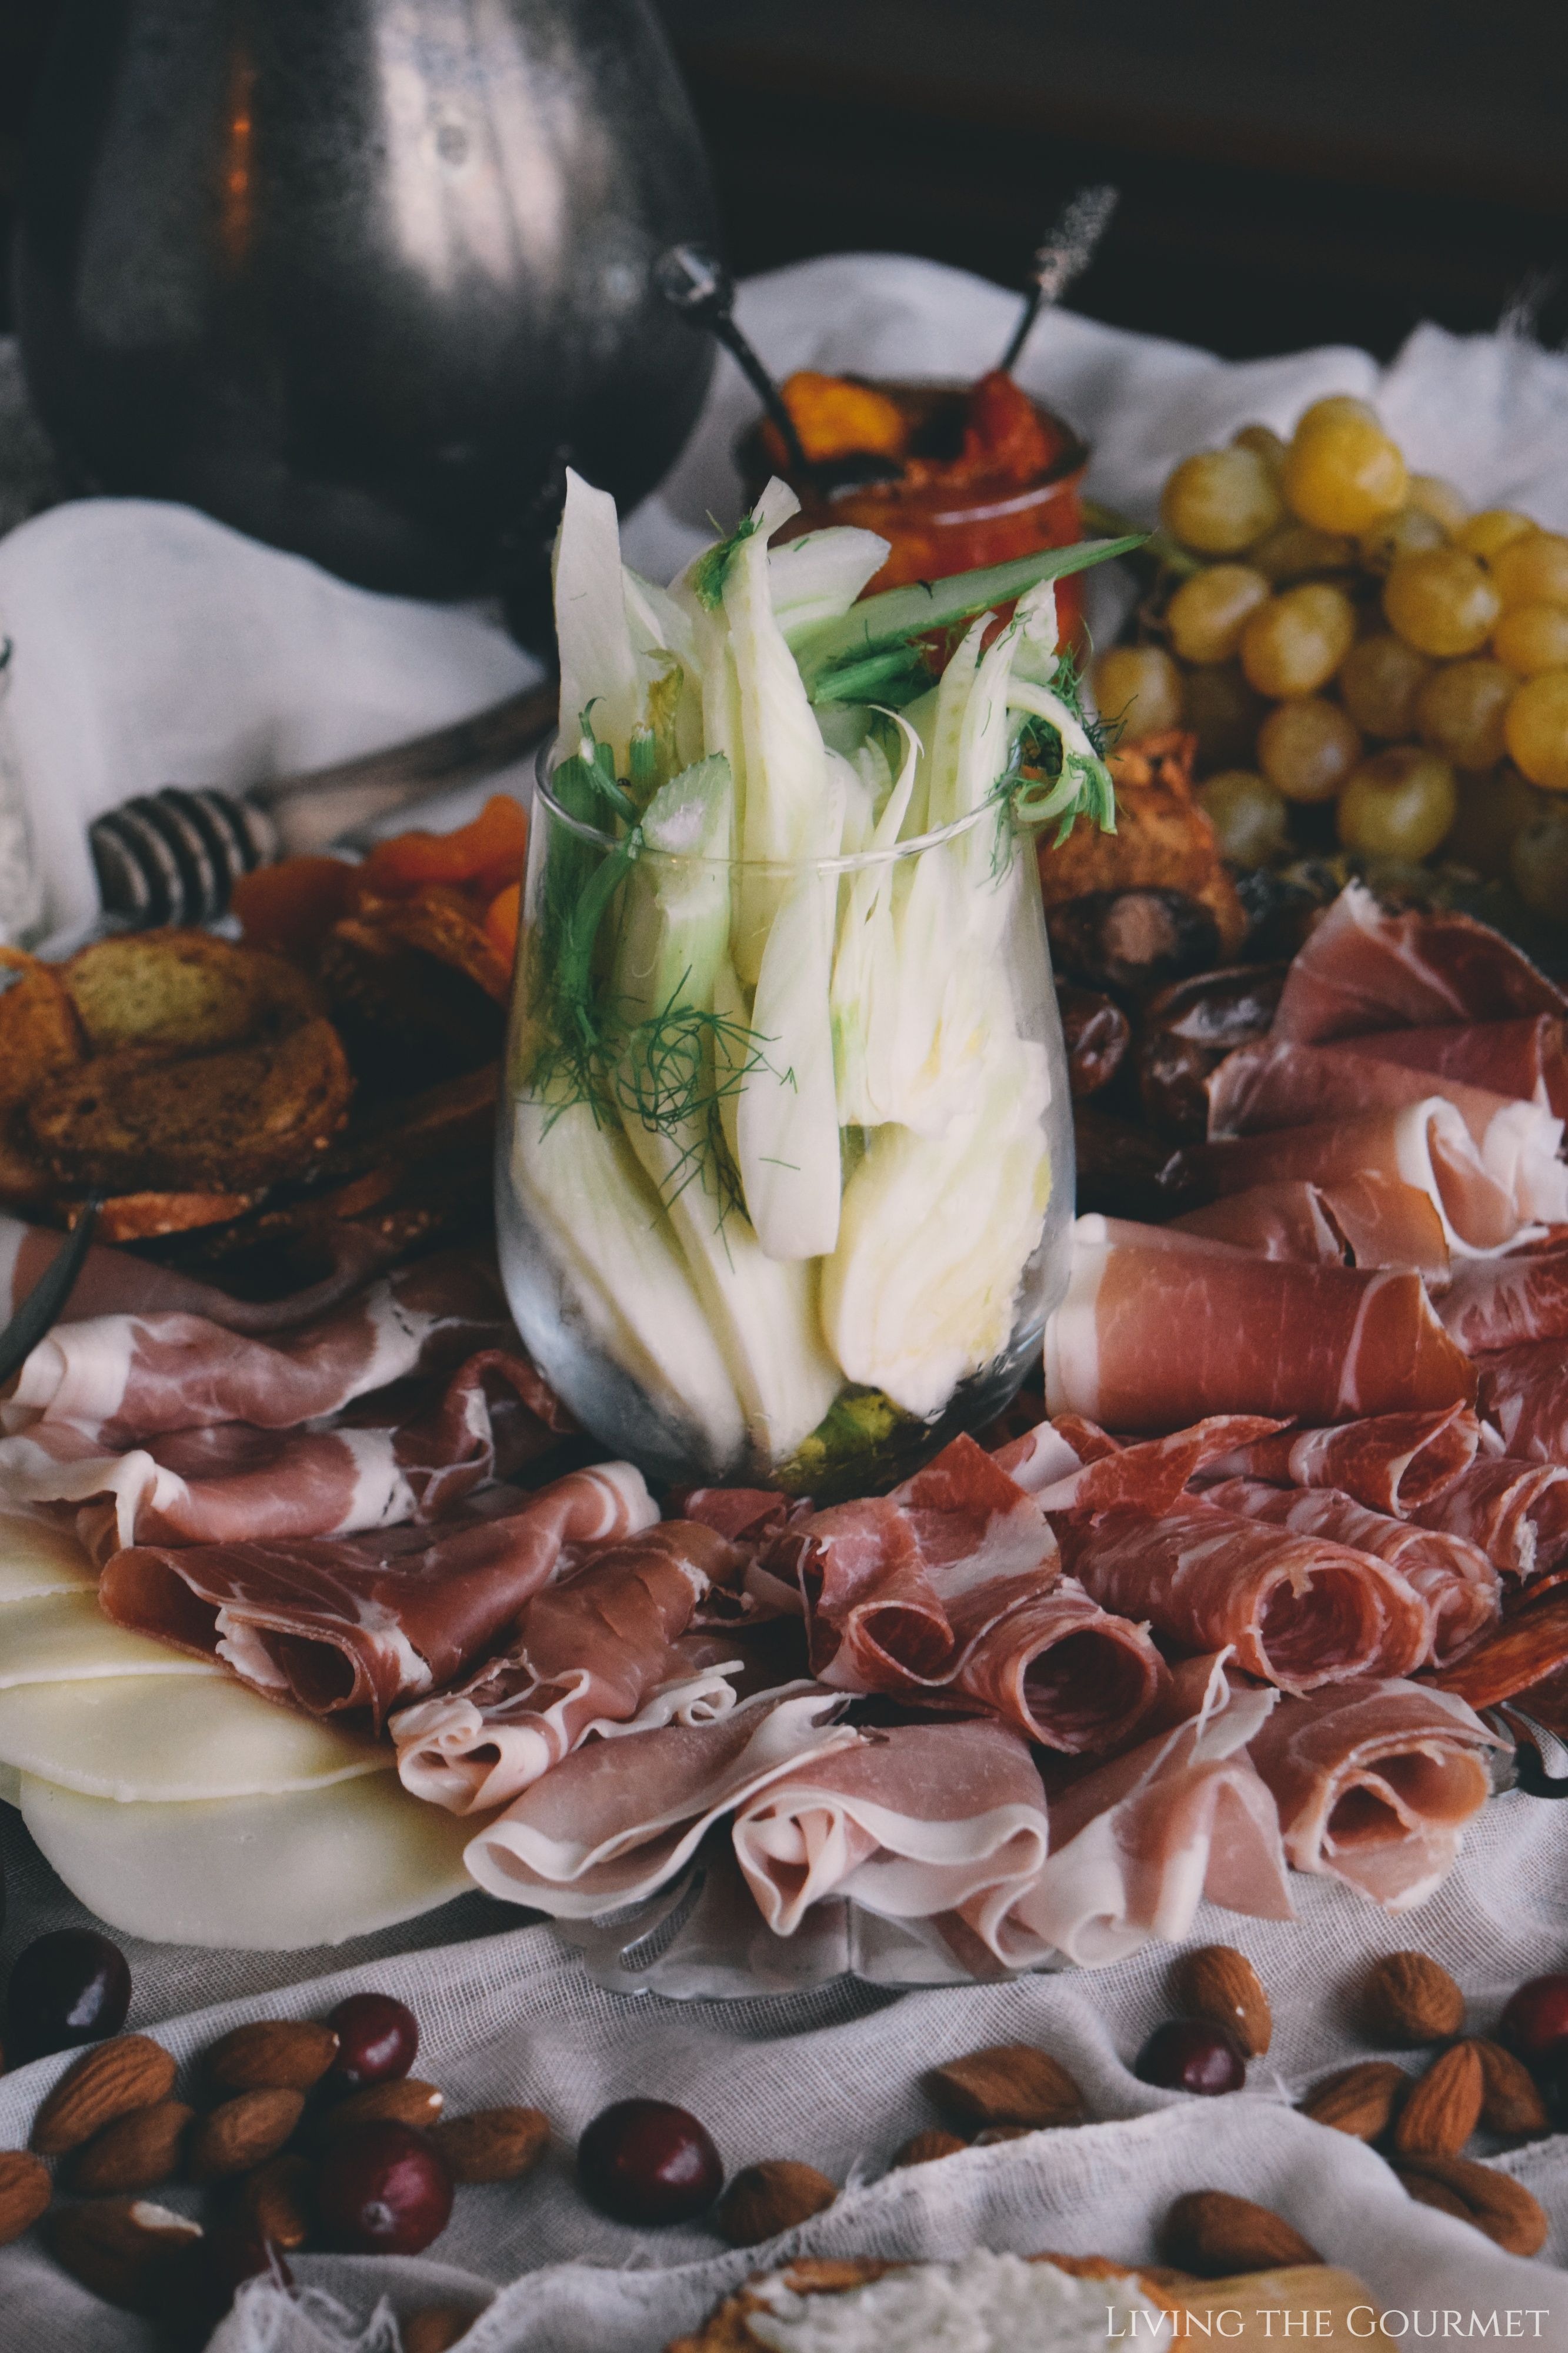
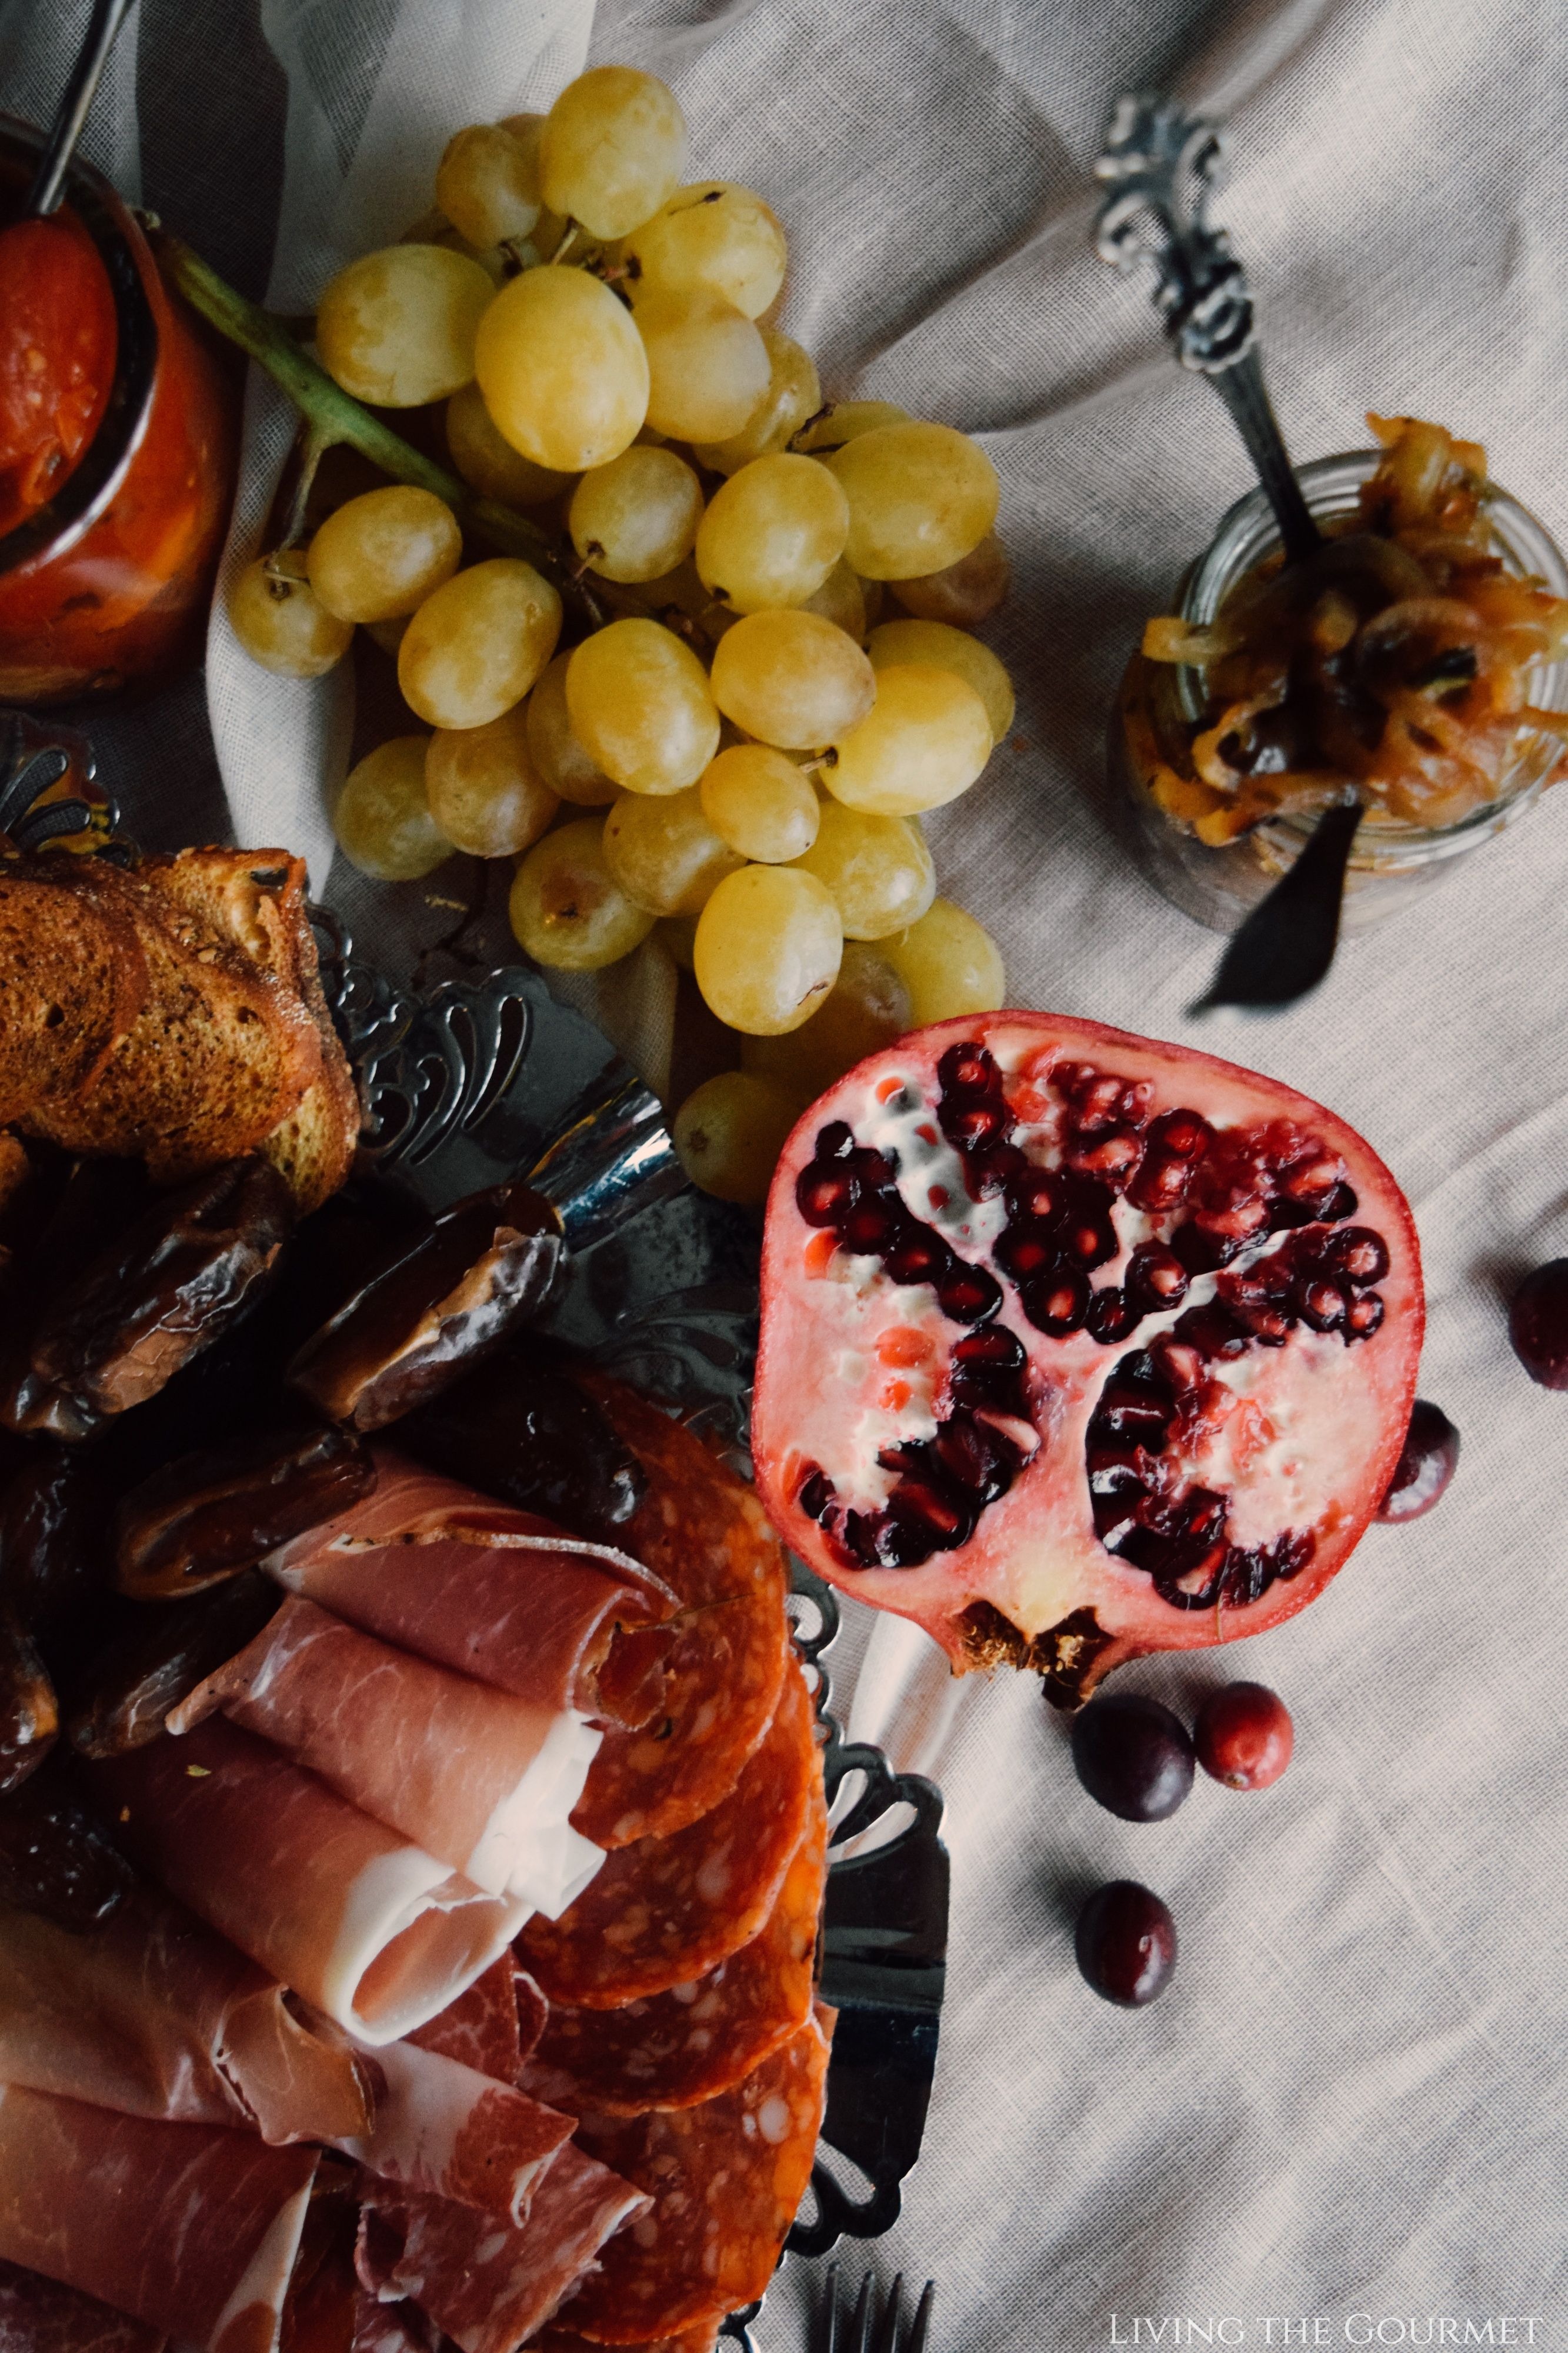
6) Assorted Fruit – Dried and Fresh. We're using a decent amount of mixed fruit to add contrast to the meat, crostini, and the trio of dips or spreads, as well as for garnish and color. Wrapping grapes or dates or dried apricots in the meats, gives you a delicious combination of sweet and savory. The fruit also provides a nice way to freshen the palate between bites of crostini and meat. Today I'm using mixed grapes, dates, apricots, and pomegranate halves, but these are just suggestions. Feel free to experiment.
More Great Starter Ideas
1) Italian Breadsticks. My take on Turin-style breadsticks. Simpler than you might think, and a welcome addition to any Italian table, I wholeheartedly recommend giving these a try.
2) Antipasto Board. A classic antipasto board, featuring homemade individual pizzas, olives, fresh fruit, cheese, and spicy Italian peppers. The individual pizzas are the star of the show, they would actually pair nicely with today's charcuterie board.
3) Serrano and Tomato Salsa. A spicy salsa featuring roasted serrano peppers and fresh tomatoes, which pairs great with crusty Italian bread, or homemade flatbreads. It would also go great on homemade crostini, and so would feature nicely into today's charcuterie spread.
- Veroni Salame Milano
- Veroni Speck Italiano
- Veroni Salame Calabrese
- Veroni Salame di Parma
- Veroni Antipasto Italiano
- Veroni Prosciutto Italiano
- Veroni Coppa Italiana
- Veroni Panino Al Prosciutto
- Veroni Panino Al Salame
- Red Seedless Grapes
- Green Seedless Grapes
- Yellow Seedless Grapes (Cottoncandy Grapes)
- Fresh Pomegranate
- Crostini
- Fennel
- Dried Apricots
- Medjool Dates
- Almonds or favorite nuts
Blistered Tomatoes:
- 2 pints of tri-colored tomatoes
- ½ tsp. salt
- ¼ tsp. fresh ground black pepper
- ¼ tsp. red pepper flakes
- ½ tsp. dried oregano
- 1 tsp. capers
- ½ tsp. sugar
- 4 – 5 fresh basil leaves
- 1 tbs. Olive oil
Caramelized Onions:
- 2 large sweet onions – sliced thin
- ½ tsp. sugar
- ½ tsp. salt
- ½ tsp. fresh ground black pepper
- ¼ tsp. red pepper flakes
- ½ tsp. dried oregano
- 1 tbs. olive oil
Garlic Butter:
- 1 garlic bulb
- 3–4 tablespoons butter, softened
- ¼ tsp. dried oregano
- Salt & Pepper to taste
Blistered Tomatoes:
- Heat a large cast iron frying pan and place the tomatoes into the dry pan.
- Dust the tomatoes with the salt and let the tomatoes char a bit.
- Drizzle with the olive oil and the rest of the seasonings and let the tomatoes continue to char and blister open. When this is achieved place the tomatoes in a small bowl, add the capers and add the ripped fresh basil leaves and toss.
Caramelized Onions:
- Heat a large cast iron frying pan and place the onion slices in the dry pan.
- Sprinkle the onions with the seasonings and let the onions get a golden char, then drizzle with olive oil.
- Remove and place in a small bowl.
Garlic Butter:
- In small saucepan over low heat, char the whole garlic bulb. Remove and let cool.
- Remove the garlic from the skin and in the bowl of a food processor, blend garlic with softened butter and seasonings. Serve alongside crostini.
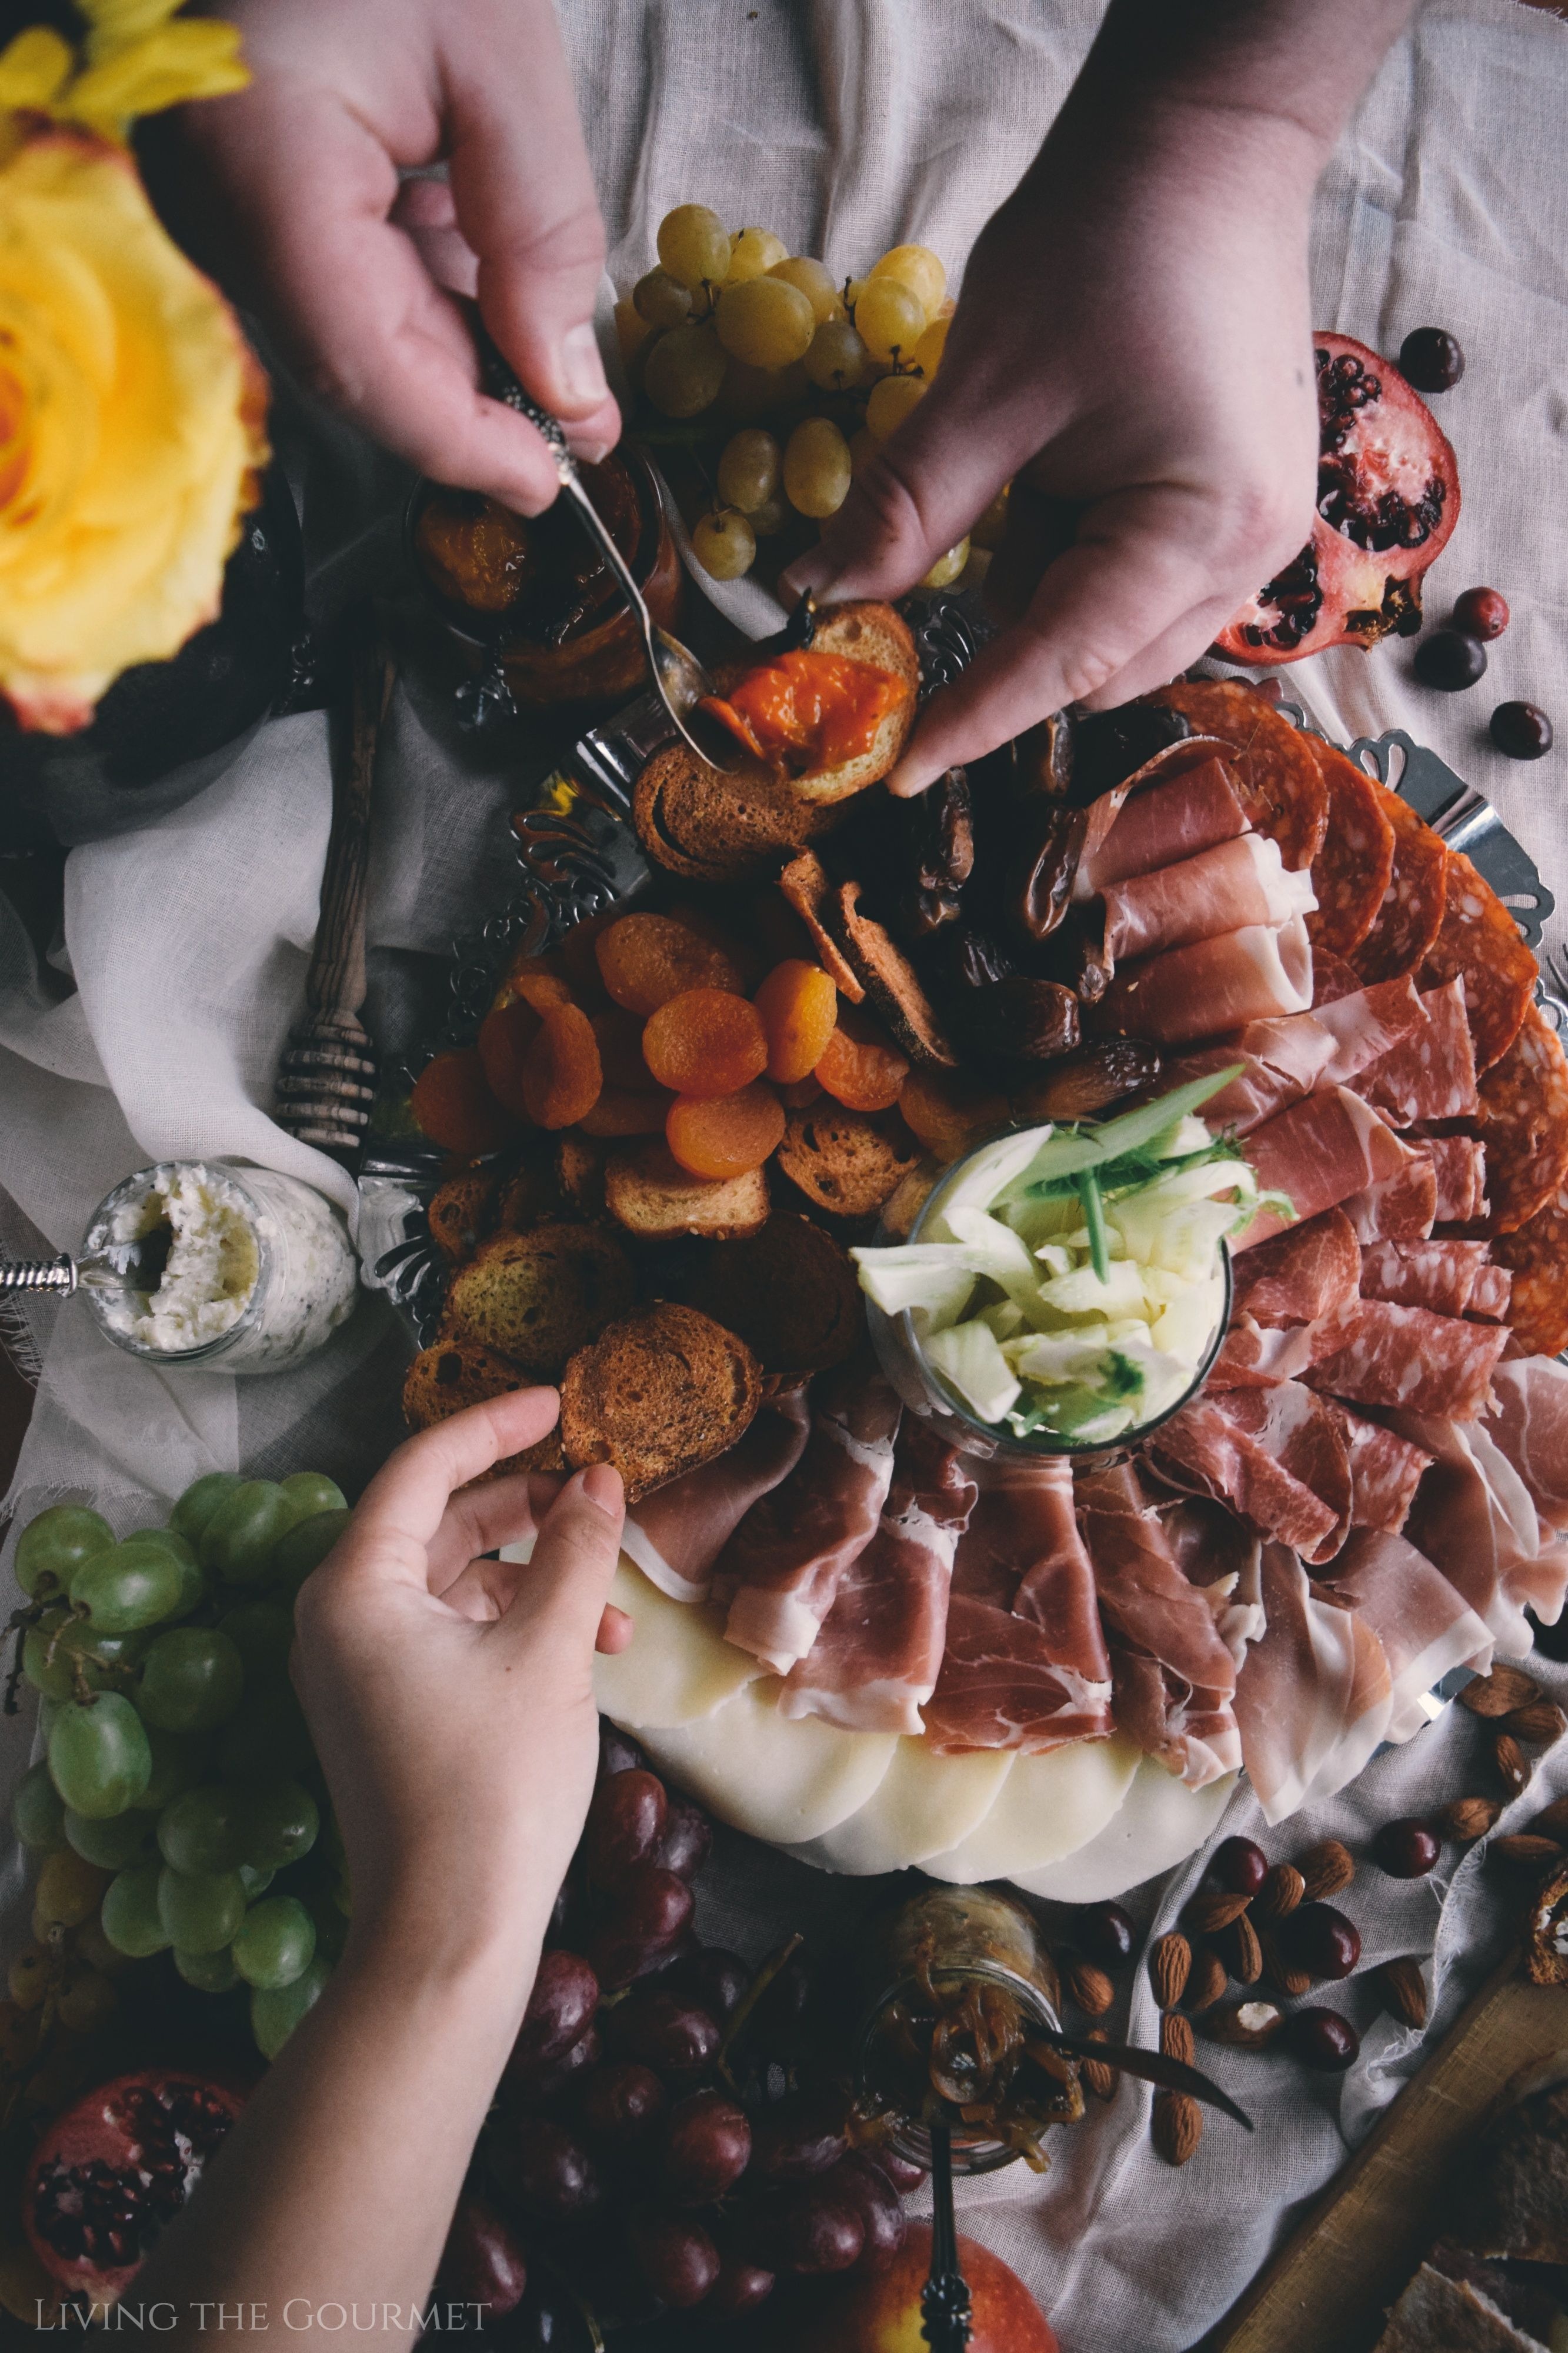
Assembly:
- On a large serving platter or board, roll the cured meats and cheese and arrange in the center. Next arrange, your desired fruit pairings, nuts, and crostini around the meats and cheese. Serve the spreads in either serving bowls or jars alongside the crostini.
- Serve and enjoy!
- Prep Time: 15 minutes
- Cook Time: 20 minutes
Nutrition
- Serving Size: 1
Recipe Card powered by
If You Enjoyed Today's Recipe…
Be sure to follow us on Instagram to stay up to date with all things Living the Gourmet, and for more great recipes, tips and tricks.
3
How to Make a Gourmet Meat and Cheese Tray
Source: https://livingthegourmet.com/2019/11/how-to-make-a-charcuterie-board.html